
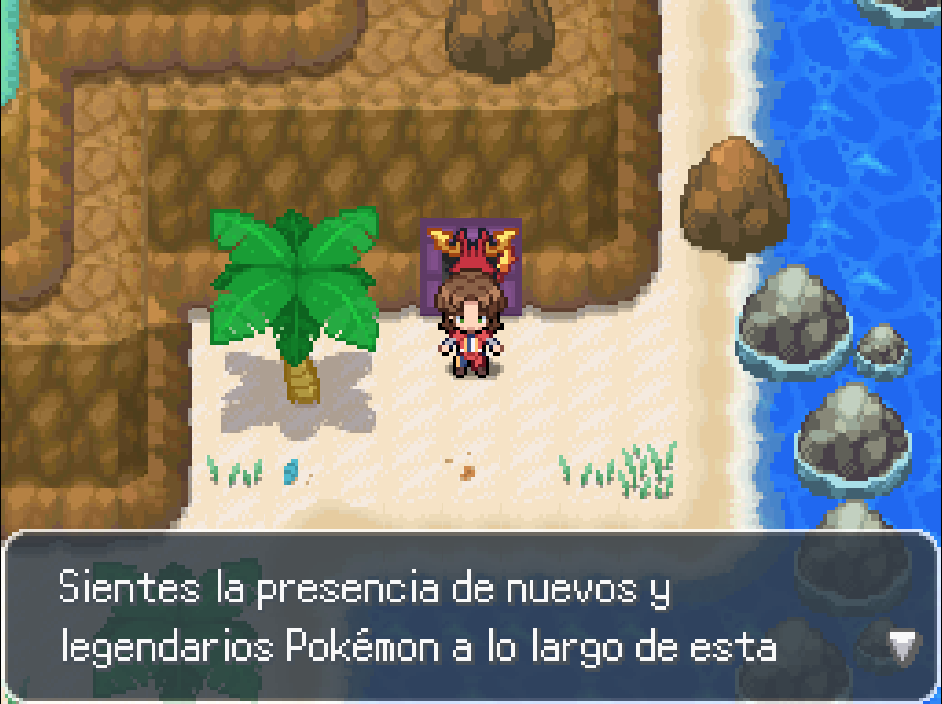
On this page you’ll find a complete guide to every Legendary Pokemon location in the Pokemon Z fangame. Whether you’re hunting story-related encounters, post-game challenges, or hidden event legendaries, this guide is designed to help you quickly locate each one without unnecessary backtracking.
Each entry lists where to find the Pokemon and the general requirement needed to reach it, making it easier to plan your progression and avoid missing one-time encounters. Since many legendaries do not respawn after being defeated or captured, using a reference like this ensures you can prepare properly before initiating the battle.
If you’re aiming to complete the Pokedex, build a competitive team, or simply experience all the optional content the game offers, this page serves as a reliable checklist to track your progress from start to post-game.
There may be light story spoilers regarding how to encounter them, so it’s recommended to read this section only if you’re searching for a specific Legendary or have finished the main story of the game.
Note: Before moving on, be sure to check out our other location guides as well. We’ve created dedicated pages for each generation’s Pokemon, along with separate guides for all Legendary Pokemon and Fakemon. Exploring those pages will help you find every Pokemon location quickly and complete your collection with ease.
- Gen 1 Pokemon Locations
- Gen 2 Pokemon Locations
- Gen 3 Pokemon Locations
- Gen 4 Pokemon Locations
- Gen 5 Pokemon Locations
- Gen 6 Pokemon Locations
- Gen 7 Pokemon Locations
- Gen 8 Pokemon Locations
- Gen 9 Pokemon Locations
- All New Fakemon Locations
- New Regional Forms & Evolutions
- Quick Guide for All Legendary Pokemon Locations
- In-Detail Guide for All Legendary Pokemon Locations
- After the Yantra events
- Additional Legendaries
- 44. Victini
- 45. Tornadus
- 46. Thundurus
- 47. Landorus
- 48. Reshiram
- 49. Zekrom
- 50. Kyurem
- 51. Meloetta
- 52. Genesect
- 53. Diancie
- 54. Hoopa
- 55. Volcanion
- 56. Type: Null / Silvally
- 57. Cosmog / Cosmoem / Solgaleo / Lunala
- 58. Necrozma
- 59. Marshadow
- 60. Zeraora
- 61. Zacian
- 62. Zamazenta
- 63. Eternatus
- 64. Zarude
- 65. Regieleki
- 66. Regidrago
- 67. Glastrier
- 65. Spectrier
- 69. Calyrex
- 70. Wo-Chien
- 71. Chien-Pao
- 72. Ting-Lu
- 73. Chi-Yu
- 74. Koraidon
- 75. Miraidon
- 76. Enamorus
- 77. Okidogi
- 78. Munkidori
- 79. Fezandipiti
- 80. Ogerpon
- 81. Terapagos
- 82. Pecharunt
- Legendaries obtainable after finishing the main story (Post-Game Legendaries)
- Other Helpful Guides:
- Final Note
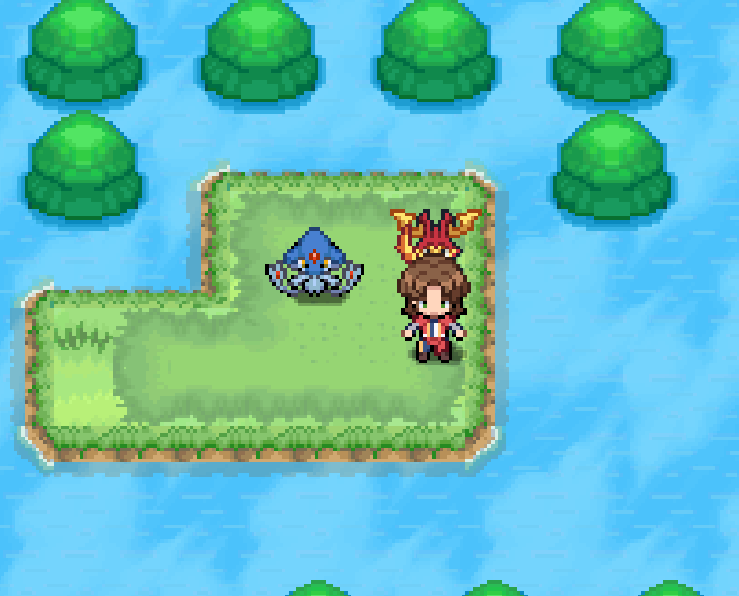
Quick Guide for All Legendary Pokemon Locations
Note: The table lists a total of 90 Legendary Pokemon, while the detailed guide shows only 85. This difference occurs because the table includes every Legendary Pokemon individually, whereas the detailed guide groups together evolutions and Legendaries that appear in the same location. As a result, the numbers differ, but the actual total count remains the same.
| # | Pokemon | Location |
|---|---|---|
| 1 | Raikou | Northernmost area of Shimmering Cave (Surf path) |
| 2 | Entei | Deepest area of Grisalla Cave |
| 3 | Suicune | Deepest area of Gloomy Cave |
| 4 | Cresselia | Manorial Cathedral (Mercuric Key door) |
| 5 | Darkrai | Luminalia Crypts (upper left) |
| 6 | Regirock | Endgame Cave puzzle rock |
| 7 | Regice | Frozen Grotto (Lens of Truth) |
| 8 | Registeel | Burning Abyss — Prison Island |
| 9 | Regigigas | Atlas Cavern (Route 21) |
| 10 | Magearna | Revived in Novarte City (Mechanical Heart) |
| 11 | Uxie | Route 15 islet (after fleeing Psyche Cave) |
| 12 | Mesprit | Route 12 southern islet |
| 13 | Azelf | Route 9 tide islet |
| 14 | Cobalion | Poke Ball Factory exterior gardens |
| 15 | Terrakion | Route 12 far left |
| 16 | Virizion | Hillside Forest right area |
| 17 | Keldeo | Mosaic Town mountain area |
| 18 | Manaphy | Sea of Acrylic Town (Dive path) |
| 19 | Phione | Breed Manaphy with Ditto (Route 5 Daycare) |
| 20 | Tapu Koko | Montesanto Island entrance |
| 21 | Tapu Lele | Montesanto Island upper left |
| 22 | Tapu Bulu | Montesanto Island upper right |
| 23 | Tapu Fini | Montesanto Island lower right |
| 24 | Articuno | Pyrenees grassy mound area |
| 25 | Zapdos | Storm Hill south |
| 26 | Moltres | Burning Abyss interior |
| 27 | Mewtwo | Flare Laboratory (M Embryo) |
| 28 | Mew | Talasia Cave puzzle |
| 29 | Lugia | Petroglifo Seafloor |
| 30 | Ho-Oh | Route 15 river path |
| 31 | Celebi | Hillside Forest detour |
| 32 | Latias | Prosperity Sanctuary |
| 33 | Latios | Prosperity Sanctuary |
| 34 | Kyogre | Bottom of Fluxus Lake |
| 35 | Groudon | Prison of Oblivion exit |
| 36 | Rayquaza | Abandoned Lighthouse summit |
| 37 | Jirachi | Acrylic Town |
| 38 | Deoxys | Mysterious Place (station door) |
| 39 | Dialga | Wandering Forest puzzle |
| 40 | Palkia | East Luminalia Extensions |
| 41 | Heatran | Burning Abyss left path |
| 42 | Giratina | Route 22 before Sanguine Town |
| 43 | Shaymin | Wandering Forest statue event |
| 44 | Arceus | Spear Pillar portal event |
| 45 | Victini | Fort Leviathan cages |
| 46 | Tornadus | Gloomy Cave surf area |
| 47 | Thundurus | Shimmering Cave path |
| 48 | Landorus | Grisalla Cave lake |
| 49 | Reshiram | Chateau Rosillon balcony |
| 50 | Zekrom | Chateau Lanto |
| 51 | Kyurem | Kalos Pyrenees path |
| 52 | Meloetta | West Luminalia |
| 53 | Genesect | Burned Workshop |
| 54 | Diancie | Reflection Cave hidden door |
| 55 | Hoopa | Sanguine Town Casino |
| 56 | Volcanion | West Luminalia event |
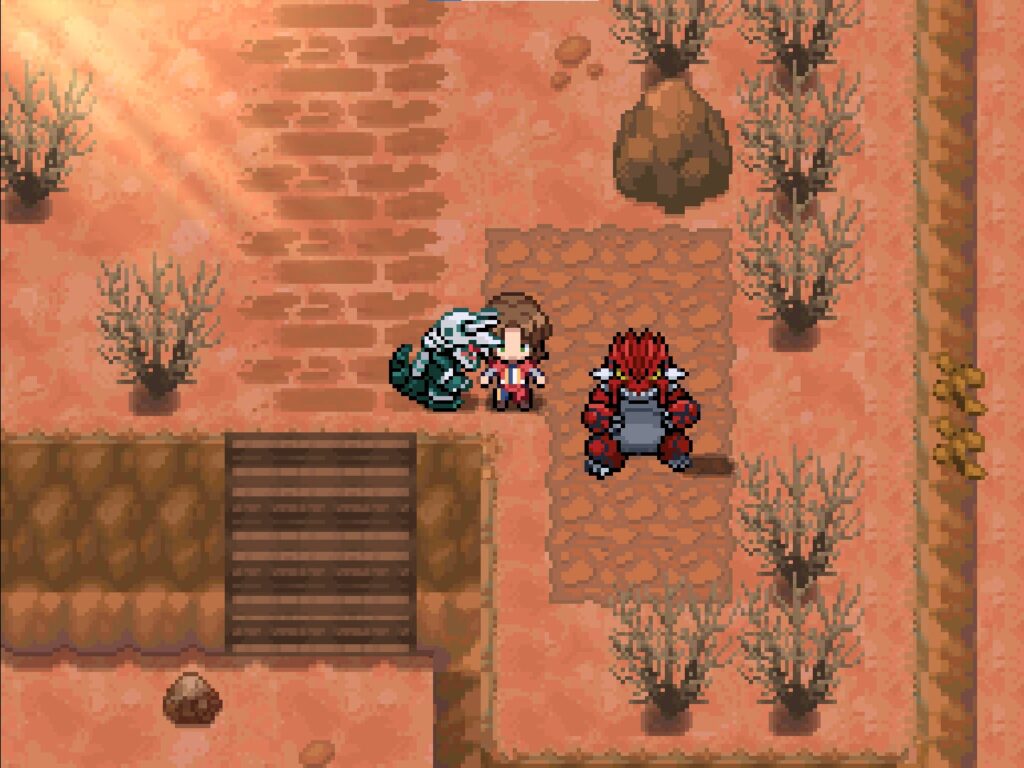
| 57 | Type: Null | Yantra Farm |
| 58 | Silvally | Yantra Farm (evolution) |
| 59 | Cosmog | Certijo Island / Old Vanitas |
| 60 | Cosmoem | Evolution of Cosmog |
| 61 | Solgaleo | Evolution line |
| 62 | Lunala | Evolution line |
| 63 | Necrozma | Luminalia Crypts center |
| 64 | Marshadow | Sanguine Coast |
| 65 | Zeraora | Service Station stairs |
| 66 | Zacian | Kings Sanctuary |
| 67 | Zamazenta | Route 5 rocky climb |
| 68 | Eternatus | Western Catacombs puzzle |
| 69 | Zarude | Route 20 swamp |
| 70 | Regieleki | Mosaic Town Exhibition |
| 71 | Regidrago | Route 17 |
| 72 | Glastrier | Fractal City stairs |
| 73 | Spectrier | Dark Tower rooms |
| 74 | Calyrex | Vanitas Orchard |
| 75 | Wo-Chien | Northern Catacombs |
| 76 | Chien-Pao | Southern Catacombs |
| 77 | Ting-Lu | Eastern Catacombs |
| 78 | Chi-Yu | Western Catacombs |
| 79 | Koraidon | Druidic Chamber |
| 80 | Miraidon | Poke Ball Factory |
| 81 | Enamorus | Petro Cave |
| 82 | Okidogi | Profane Swamp NE |
| 83 | Munkidori | Profane Swamp burrow |
| 84 | Fezandipiti | Profane Swamp flight zone |
| 85 | Ogerpon | Route 16 |
| 86 | Terapagos | Ancient Flooded Forge |
| 87 | Pecharunt | Deep Burrow |
| 88 | Xerneas | Deep Spring |
| 89 | Yveltal | Circus Nightmare |
| 90 | Zygarde | Prism Tower summit |
In-Detail Guide for All Legendary Pokemon Locations
1. Raikou:
Once you have the ability to Surf, you can obtain Raikou.
Go to the northernmost part of the Shining Cave (Cueva Refulgente).
From there, Surf north and then to the right — follow the only available path, and you’ll find it waiting at the end.
2. Entei:
Once you have the ability to Surf, you can obtain Entei.
Go to the deepest part of the Grisalla Cave.
From there, Surf to the right and follow the only available path downward — you’ll find Entei waiting at the very end.
3. Suicune:
Once you have the ability to Surf, you can obtain Suicune.
Go to the deepest part of the Gloomy Cave (Cueva Lóbrega).
From there, Surf to the right and follow the only available path leading to the upper-right cave — you’ll find Suicune waiting at the very end.
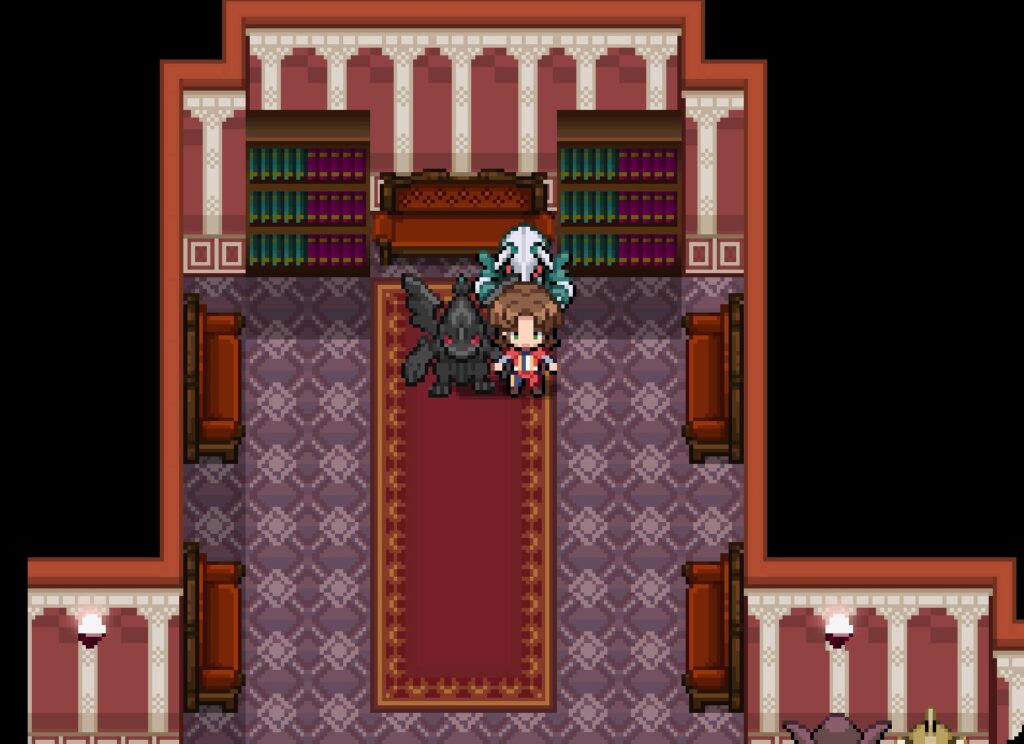
4. Cresselia:
It’s not very hard to find. Go to the highest floor of the Regal Cathedral (Catedral Señorial).
On the right side, you’ll see a door sealed by the Mercuric Key.
Once you unlock it, you’ll be able to try and catch this Legendary Pokémon.
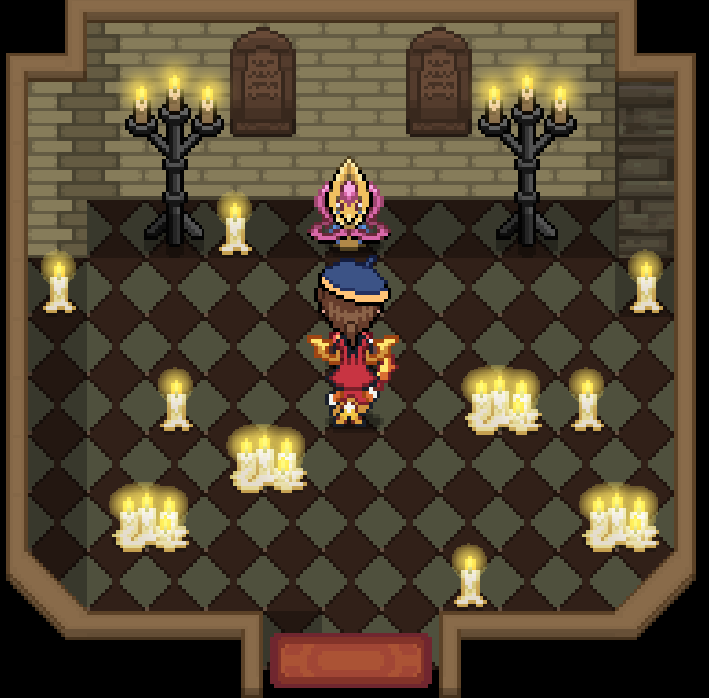
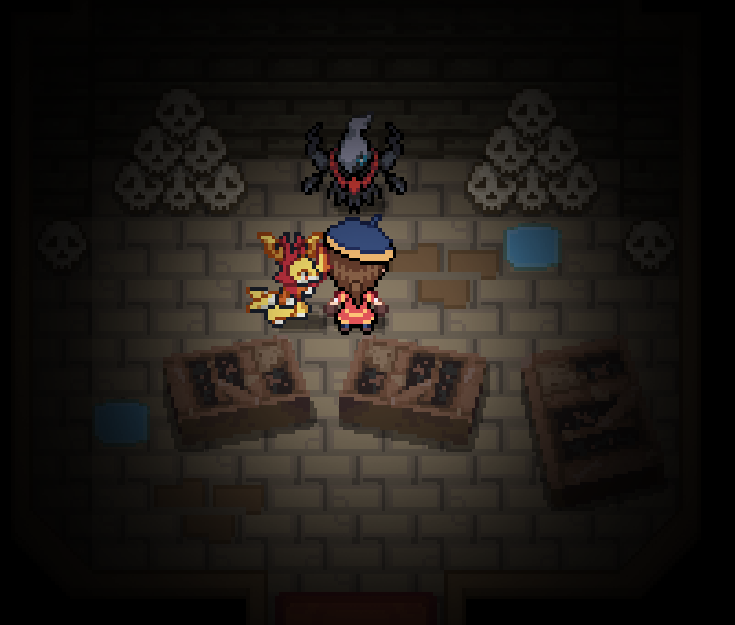
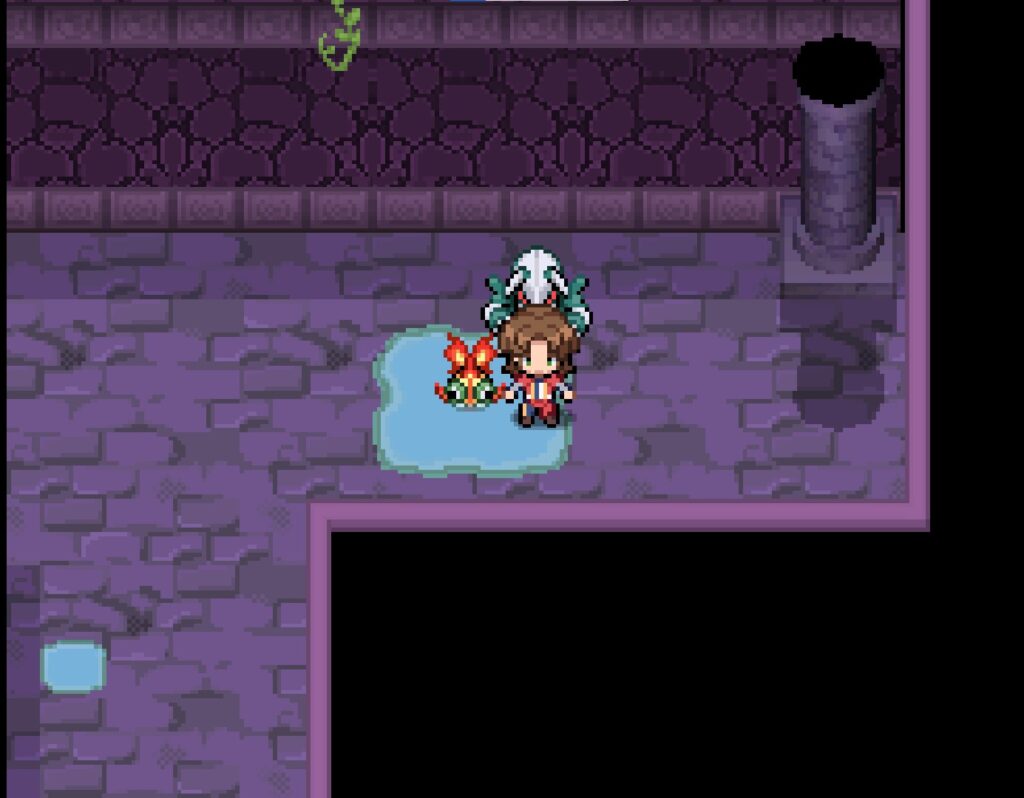
5. Darkrai:
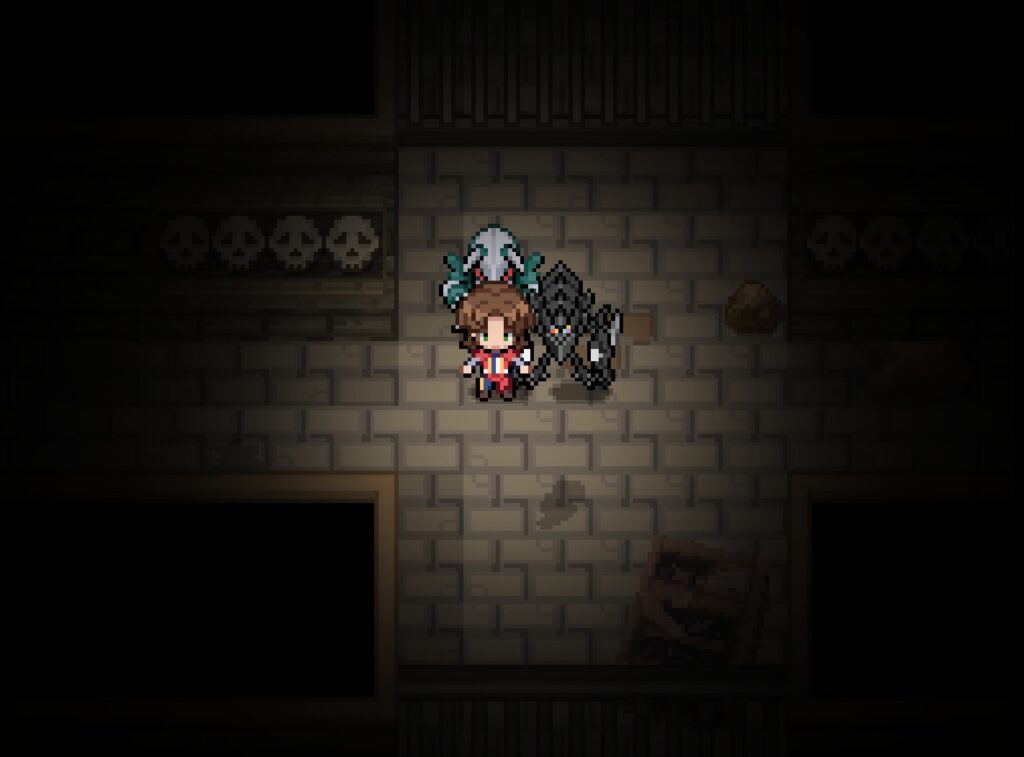
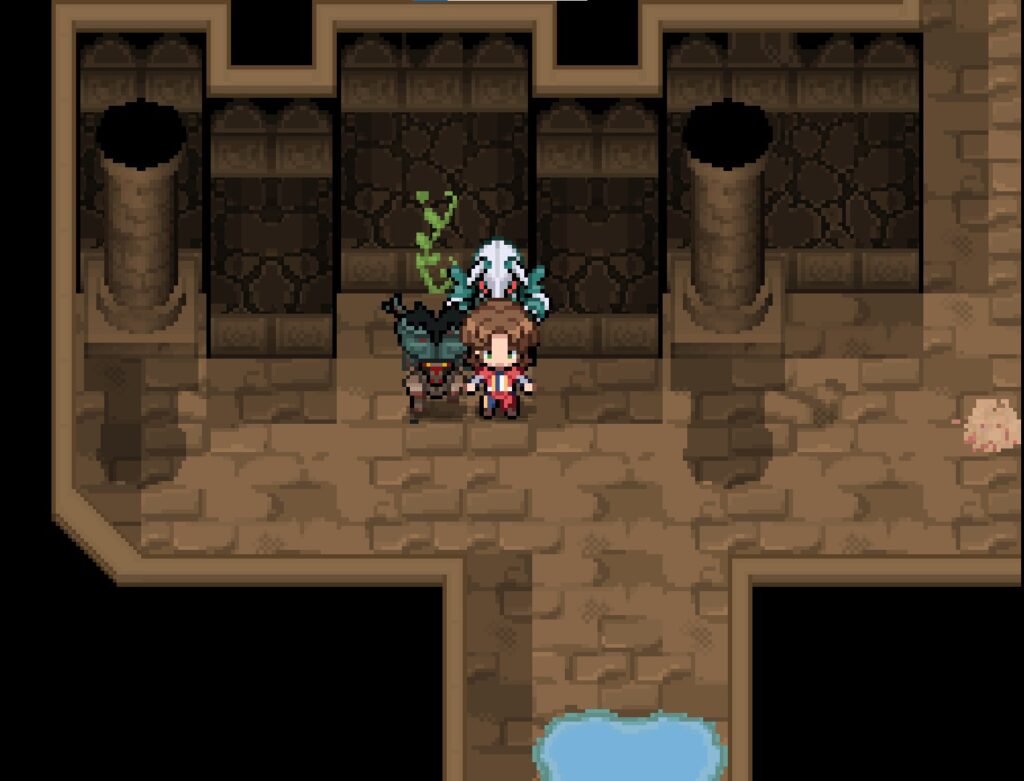
It’s not very hard to find. Go to the upper-left area of the Luminalia Crypts (Criptas de Luminalia).
There, you’ll see a door sealed by the Mercuric Key.
Once you unlock it, you’ll be able to try and catch this Legendary Pokémon. (I refuse to call it a Mythical!)
6. Regirock:
Go to the deepest part of the Ending Cave (Cueva Desenlace) until you find a wall of strange dots that gives clues on how to unlock it.
After reading it, interact with the lone rock located at the lower-right side, near the cave’s exit.
7. Regice:
Go through the Frozen Grotto (Gruta Helada) until you find a wall of strange dots that gives clues on how to unlock it.
Use the Lens of Truth in the area to reveal it — you’ll find Regice just south of that sign.
8. Registeel:
Go to the end of the Burning Chasm (Sima Ardiente), inside the Prison Island.
There, you’ll find a wall of strange dots that gives clues on how to unlock it.
Interact with the message while having a Wailord Z as the first Pokémon in your team (it can be fished in Relief City).
After that, you’ll hear a roar — Registeel will appear in the left area of the same map.
9. Regigigas:
Go to the Atlas Cavern, located on Route 21, with Regirock, Regice, and Registeel in your team.
Place Regice in the first slot, Regirock in the third slot, and Registeel in the fifth slot — in other words, all three should be positioned in the left column of your party.
After setting them up this way, interact with the central statue to make Regigigas appear.
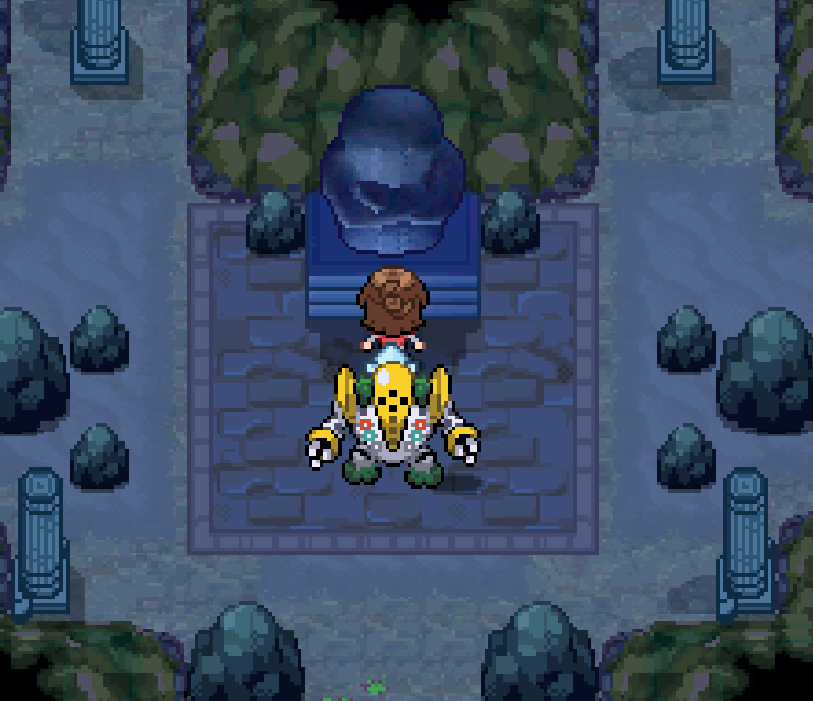
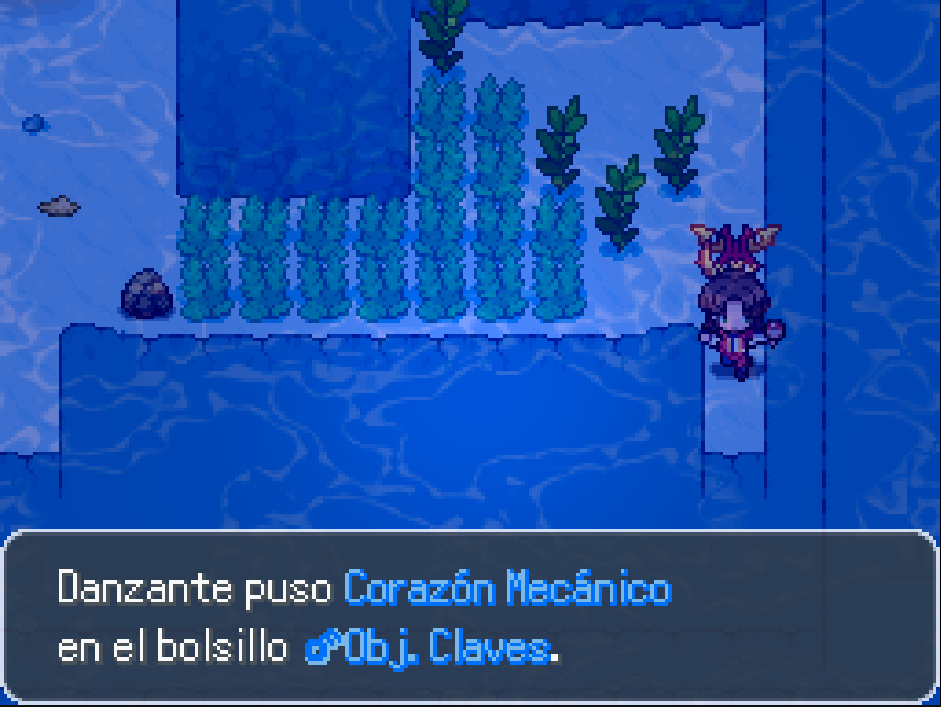
10. Magearna:
You’ll need its Mechanical Heart to obtain it.
First, make sure you’ve learned how to Dive. Then, go to Petroglyph Town (Pueblo Petroglifo), descend the rocky wall, and dive into the water area — you’ll notice it has a slightly different color.
Once underwater, head to the bottom-right corner of the area, breaking several rocks along the way. At the very end, you’ll find the item.
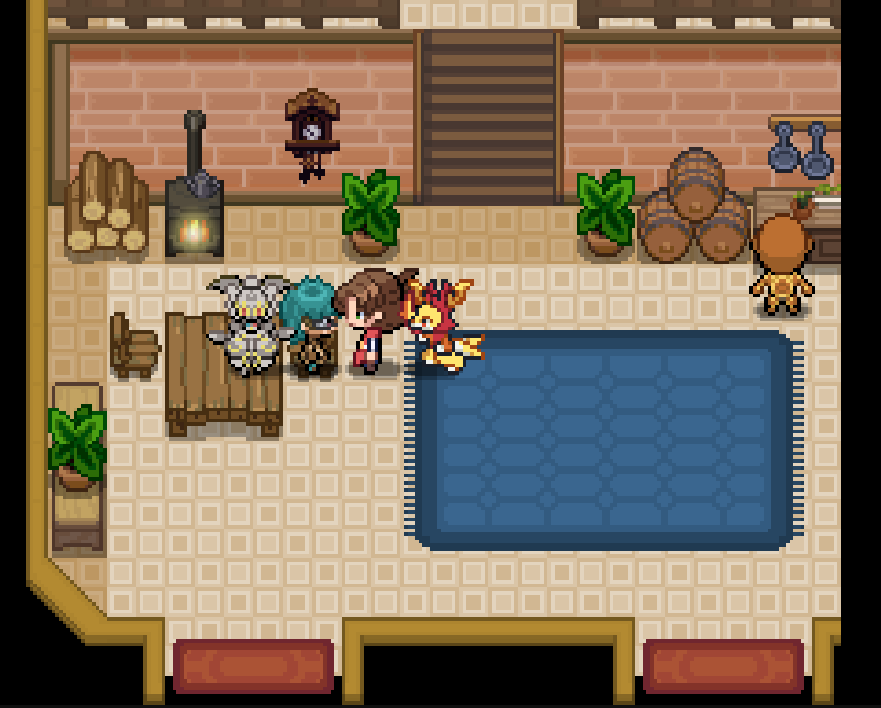
After obtaining the Mechanical Heart, go to the bottom-left house in Novarte City (Ciudad Novarte).
You’ll see Magearna sitting on the table — it will come to life when you give the Mechanical Heart to the nearby NPC.
11. Uxie:
Go to the Psychic Cave (Cueva Psique), located in Mosaic Town (Pueblo Mosaico), accessible through the rocky wall.
You’ll need a Mercuric Key to unlock the entrance.
Once inside, you’ll see Uxie on the left — but when you try to catch it, it will flee.
Afterward, Uxie will move to Route 15, to a small island in the central area.
To reach it, Surf along the river — you’ll find it in the second part of Route 15.
12. Mesprit:
Go to the Psychic Cave (Cueva Psique), located in Mosaic Town (Pueblo Mosaico), accessible through the rocky wall.
You’ll need a Mercuric Key to unlock the entrance.
Once inside, you’ll see Mesprit on the right — but when you try to catch it, it will flee.
Afterward, Mesprit will move to Route 12, to a small island in the southern area.
To reach that island, take the northern exit inside the Tierraunida Grotto, then travel across the water.
13. Azelf:
Go to the Psychic Cave (Cueva Psique), located in Mosaic Town (Pueblo Mosaico), accessible through the rocky wall.
You’ll need a Mercuric Key to unlock the entrance.
Once inside, you’ll see Azelf above — but when you try to catch it, it will flee.
Afterward, Azelf will move to Route 9. It’s important that the tide is high on that map (you can raise or lower the tide by ringing the Prosperity Sanctuary Bell).
You’ll find Azelf on a small island in the central-southern part of the map.
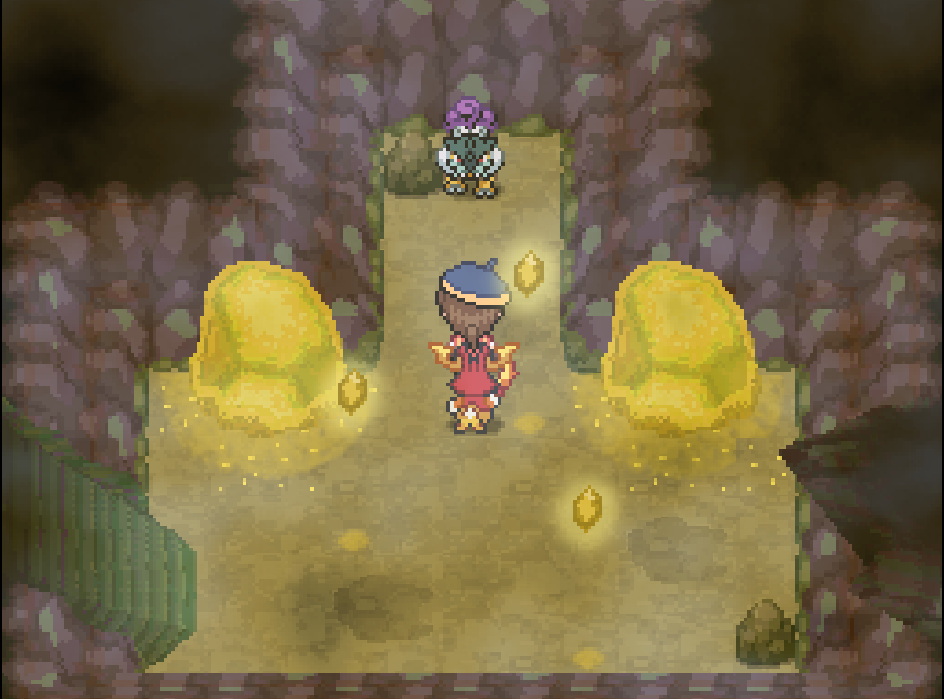
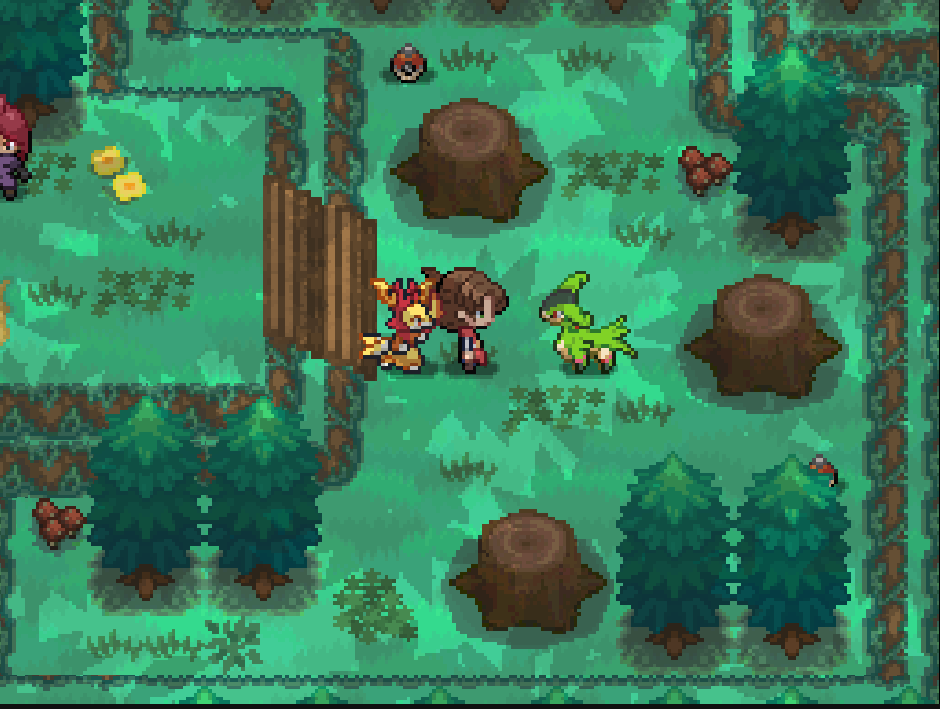
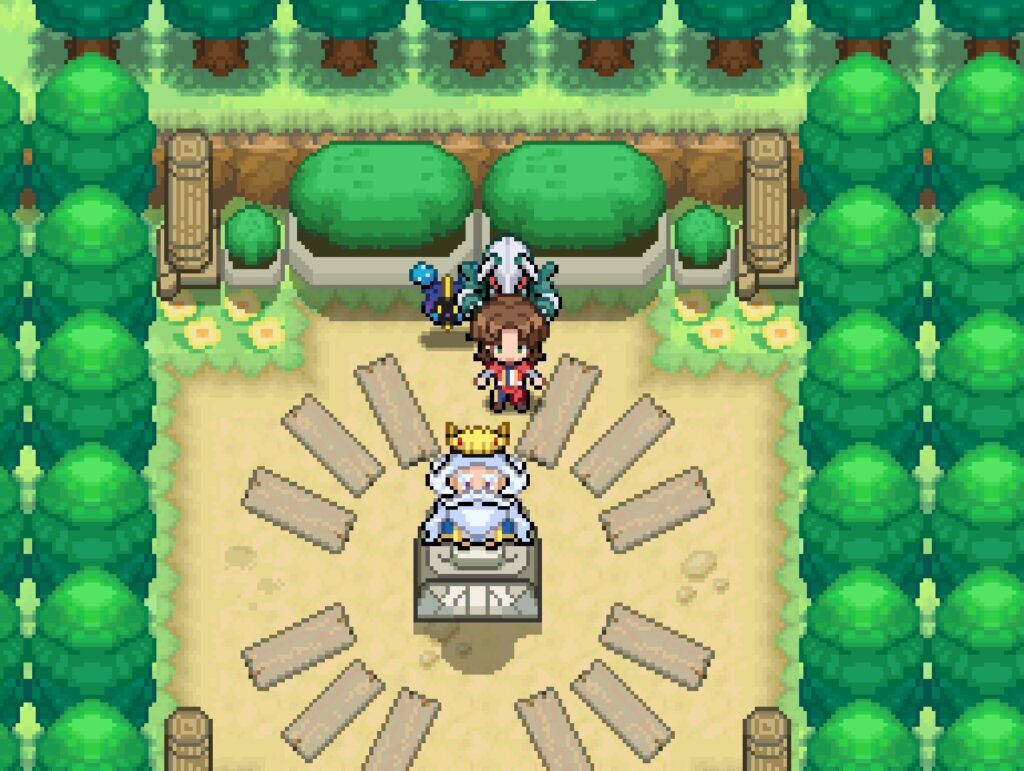
Swords of Justice:
First, you’ll need to buy the Sword of the Forgotten King from the Fractal City Pokémon Center — it’s not cheap, so make it a priority.
Once you have it, go to the Sanctuary of Kings Altar, which can be reached through Route 5, and place the sword on the altar.
After doing so, the four Swords of Justice will appear across different areas of the region.
You can reach the sanctuary by climbing several rocky walls using the Gogoat mount.

14. Cobalion:
First, you’ll need to buy the Sword of the Forgotten King from the Fractal City Pokémon Center — it’s not cheap, so make it a priority.
Once you have it, go to the Sanctuary of Kings Altar, which can be reached through Route 5, and place the sword on the altar.
After that, the four Swords of Justice will appear across different areas of the region.
You’ll find Cobalion at the Poké Ball Factory (Exterior), located within the gardens.
15. Terrakion:
First, you’ll need to buy the Sword of the Forgotten King from the Fractal City Pokémon Center — it’s not cheap, so make it a priority.
Once you have it, go to the Sanctuary of Kings Altar, which can be reached through Route 5, and place the sword on the altar.
After that, the four Swords of Justice will appear across different areas of the region.
You’ll find Terrakion on Route 12, in the furthest area to the left.
16. Virizion:
First, you’ll need to buy the Sword of the Forgotten King from the Fractal City Pokémon Center — it’s not cheap, so make it a priority.
Once you have it, go to the Sanctuary of Kings Altar, which can be reached through Route 5, and place the sword on the altar.
After that, the four Swords of Justice will appear across different areas of the region.
You’ll find Virizion in the Hillside Forest (Bosque Ladera), in the rightmost area of the first part of the forest.
17. Keldeo:
First, you’ll need to buy the Sword of the Forgotten King from the Fractal City Pokémon Center — it’s not cheap, so make it a priority.
Once you have it, go to the Sanctuary of Kings Altar, which can be reached through Route 5, and place the sword on the altar.
After that, the four Swords of Justice will appear across different areas of the region.
You’ll find Keldeo in Mosaic Town (Pueblo Mosaico), in the right area, after climbing the mountain.
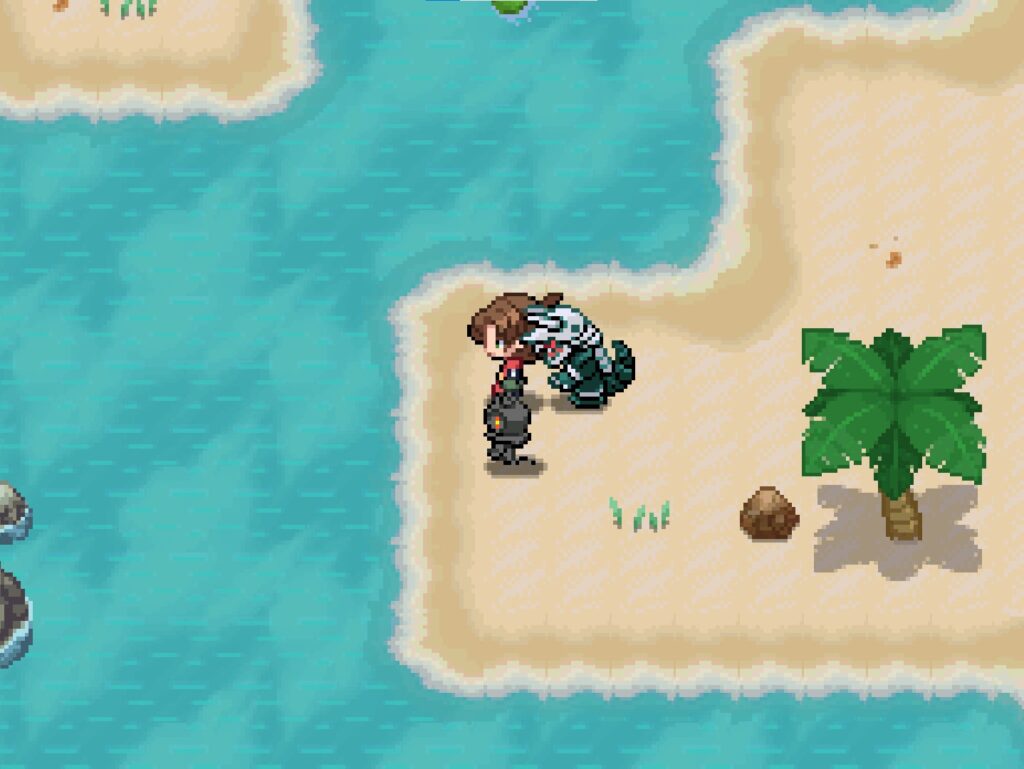
18. Manaphy:
You must first have the ability to Dive.
After that, go to the sea near Acrylic Town (Pueblo Acrílico), and look for an area on the left side where the water appears darker.
Once underwater, swim south, since the right-side ocean currents block the way.
You’ll encounter a large Wailord there — you must defeat it in a 2 vs 1 battle.
It will boost its stats during the fight, but Electric-type moves deal 4× damage.
After defeating it, the ocean currents will stop, allowing you to head east across the map.
At the end of the path, you’ll find Manaphy.
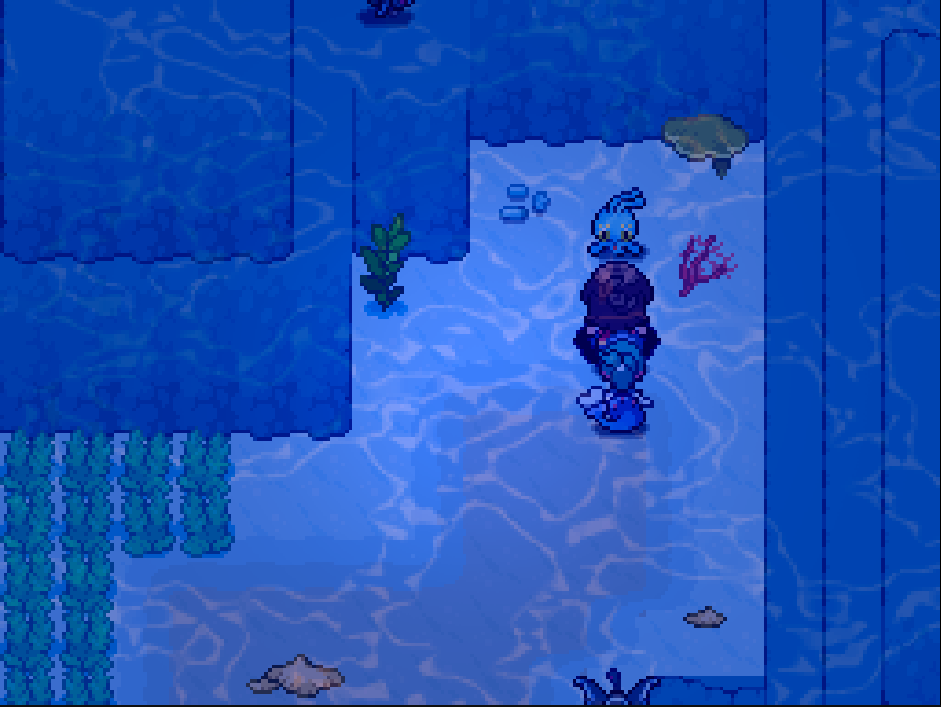
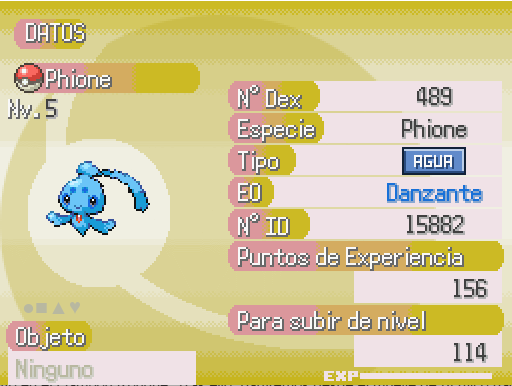
19. Phione:
You must have successfully caught Manaphy, since you’ll need it to obtain Phione.
Once you have Manaphy, go to the Day Care Center on Route 5 and breed Manaphy with a Ditto. Ditto can also be found on Route 5.
After placing both Manaphy and Ditto in the Day Care, walk around the map for a while, then speak to the man outside the Day Care.
When they produce an egg, store it in the incubator and hatch it — the Pokémon that hatches will be Phione.
It’s recommended not to give any held items to Manaphy or Ditto during this process, as it may cause bugs.
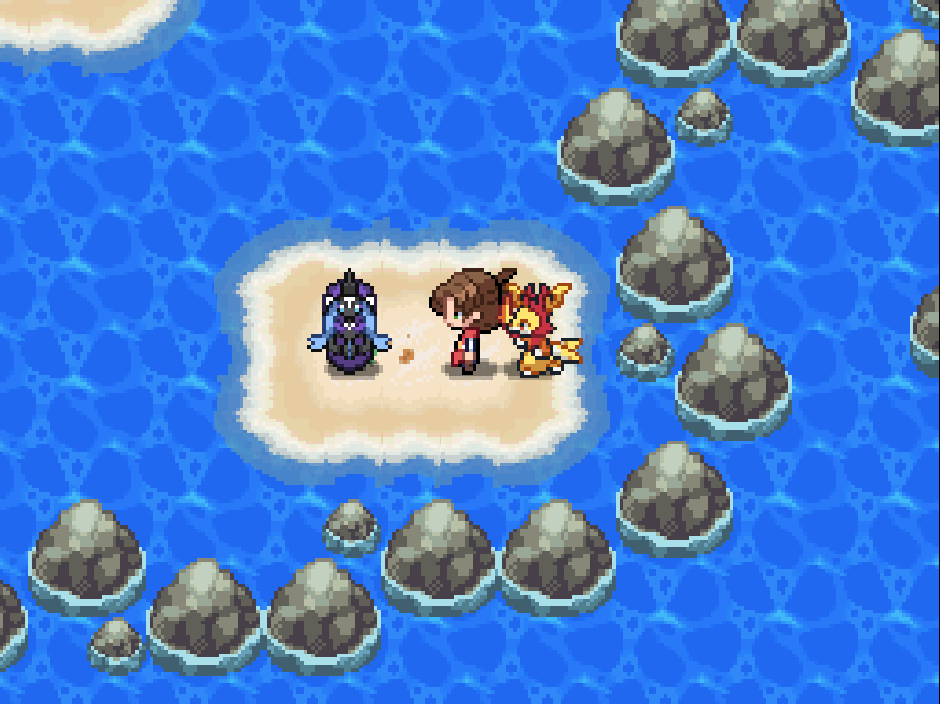
20. Tapu Koko:
You must first obtain the Montesanto Island Map, which can be found outside the Poké Ball Factory (use the Lens of Truth in the gardens).
After obtaining it, give the map to Lotto at the Rougue Gambón.
Then, depart from the Acrylic Town dock toward the island.
Once you’ve solved the puzzle, you’ll hear the cries of the four Tapus across the island.
Tapu Koko will appear at the island’s entrance, standing above a small puddle.

21. Tapu Lele:
You must first obtain the Montesanto Island Map, located outside the Poké Ball Factory (use the Lens of Truth in the gardens).
After obtaining it, give the map to Lotto at the Rougue Gambón.
Then, depart from the Acrylic Town dock toward the island.
Once you’ve solved the puzzle, you’ll hear the cries of the four Tapus across the island.
Tapu Lele will appear in the upper-left area of the island.

22. Tapu Bulu:
You must first obtain the Montesanto Island Map, found outside the Poké Ball Factory (use the Lens of Truth in the gardens).
After obtaining it, give the map to Lotto at the Rougue Gambón.
Then, depart from the Acrylic Town dock toward the island.
Once you’ve solved the puzzle, you’ll hear the cries of the four Tapus across the island.
Tapu Bulu will appear in the upper-right area of the island.
23. Tapu Fini:
You must first obtain the Montesanto Island Map, located outside the Poké Ball Factory (use the Lens of Truth in the gardens).
After obtaining it, give the map to Lotto at the Rougue Gambón.
Then, depart from the Acrylic Town dock toward the island.
Once you’ve solved the puzzle, you’ll hear the cries of the four Tapus across the island.
Tapu Fini will appear in the lower-right area of the island, standing on a small mound of earth.

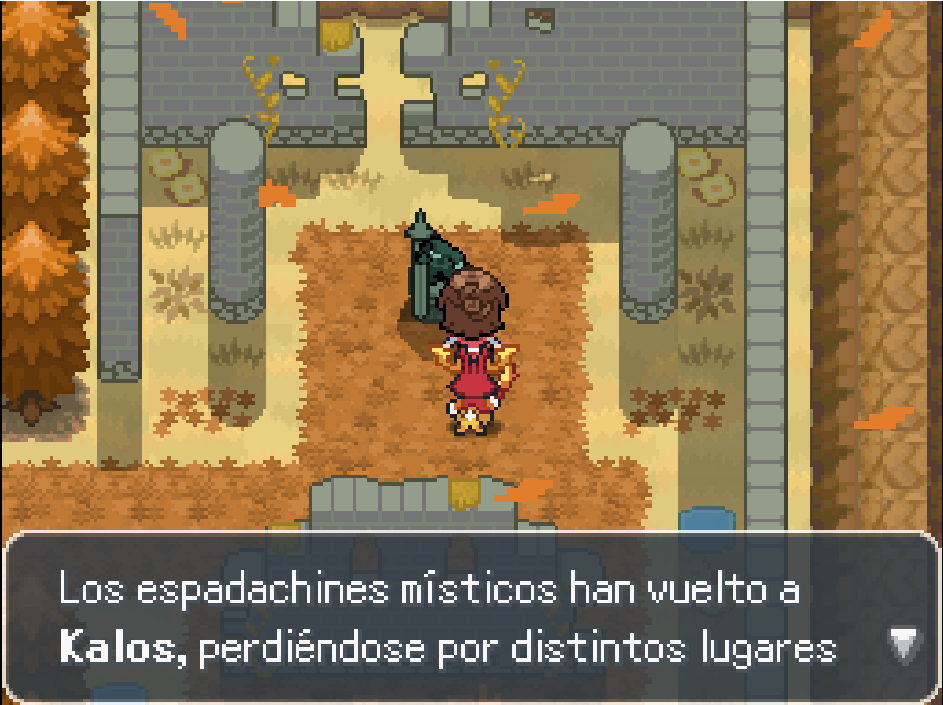
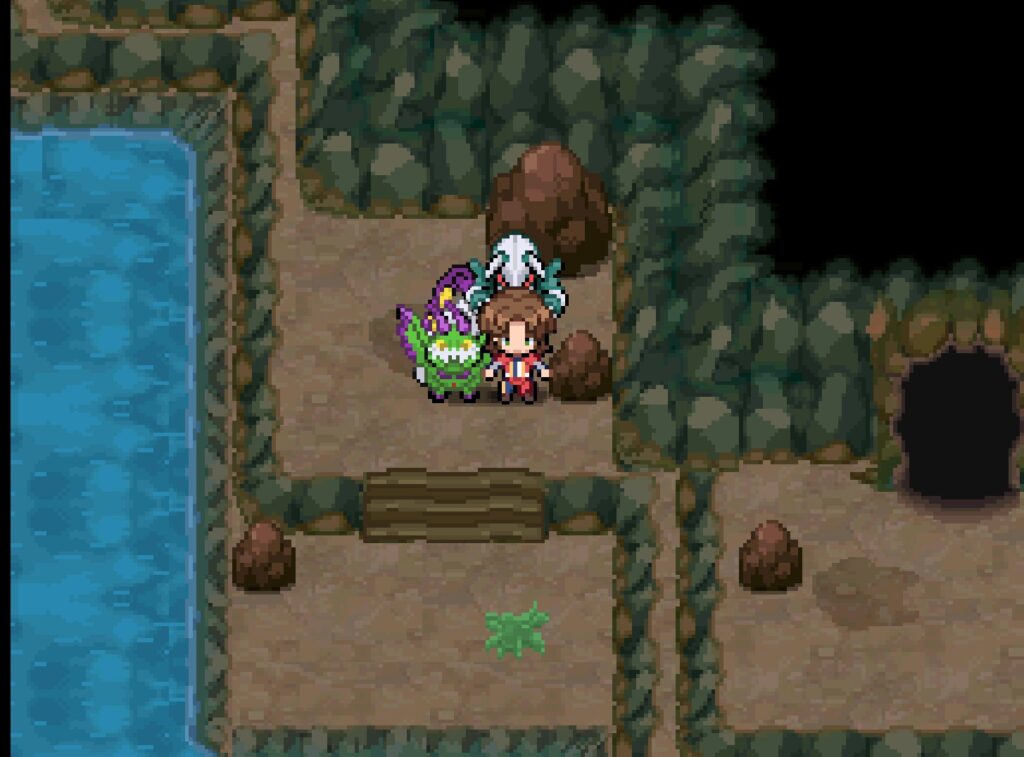
After the Yantra events
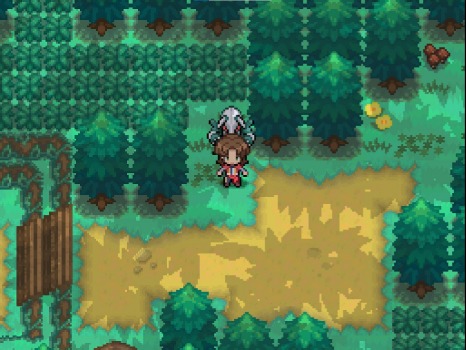
24. Articuno
Travel from Batik to the Pyrenees. Go up without entering the grass, then head right until you reach a grassy area with a mound. Without going down the mound, climb the stairs — Articuno will be on the left.
25. Zapdos
Head to Novarte, then go south to Storm Hill. Zapdos will be located in the southern section.
26. Moltres
Go to Burning Chasm, head left, descend through the cave, and continue downward to find Moltres.
27. Mewtwo
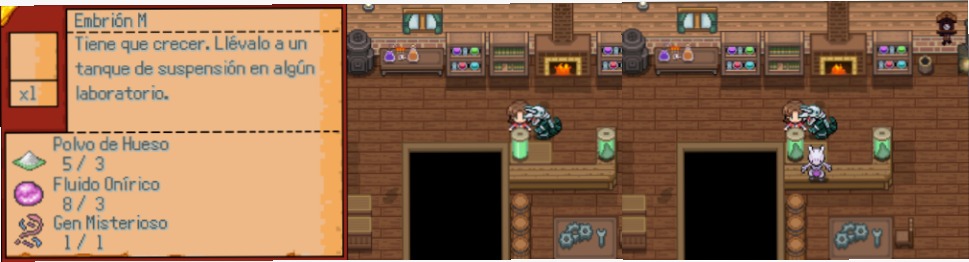
To obtain Mewtwo you’ll need several requirements:
- Collect 52 recipes (see the Recipe Locations list).
- Gather the materials:
- 3 Bone Dust (dropped by Pokémon like Gastly)
- 3 Dream Fluids (dropped by Dark-type Pokémon like Absol)
- 1 Mysterious Gene (dropped by Mew after catching or defeating it)
After crafting the M-Embryo, go to the Flare Laboratory and insert it into one of the tanks. Mewtwo will appear.
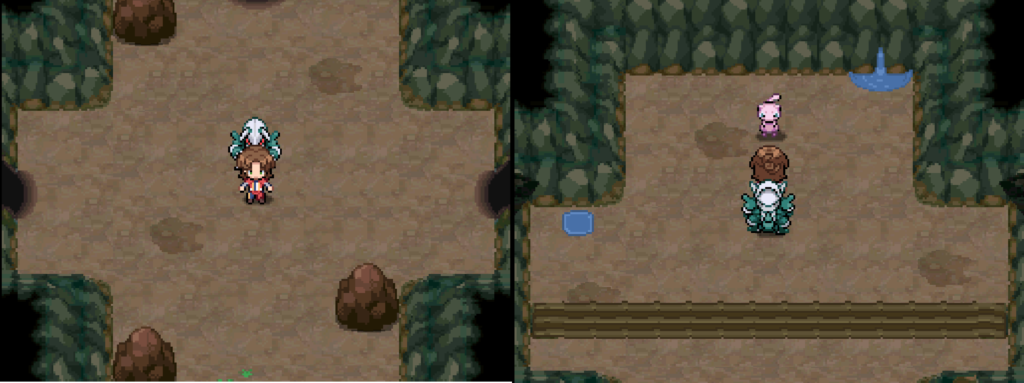
28. Mew
Found in Talasia Cave, north of Route 24.
Solve the wall-clock puzzle where the number of stones corresponds to directions: → ↓ ↓ to reach Mew.
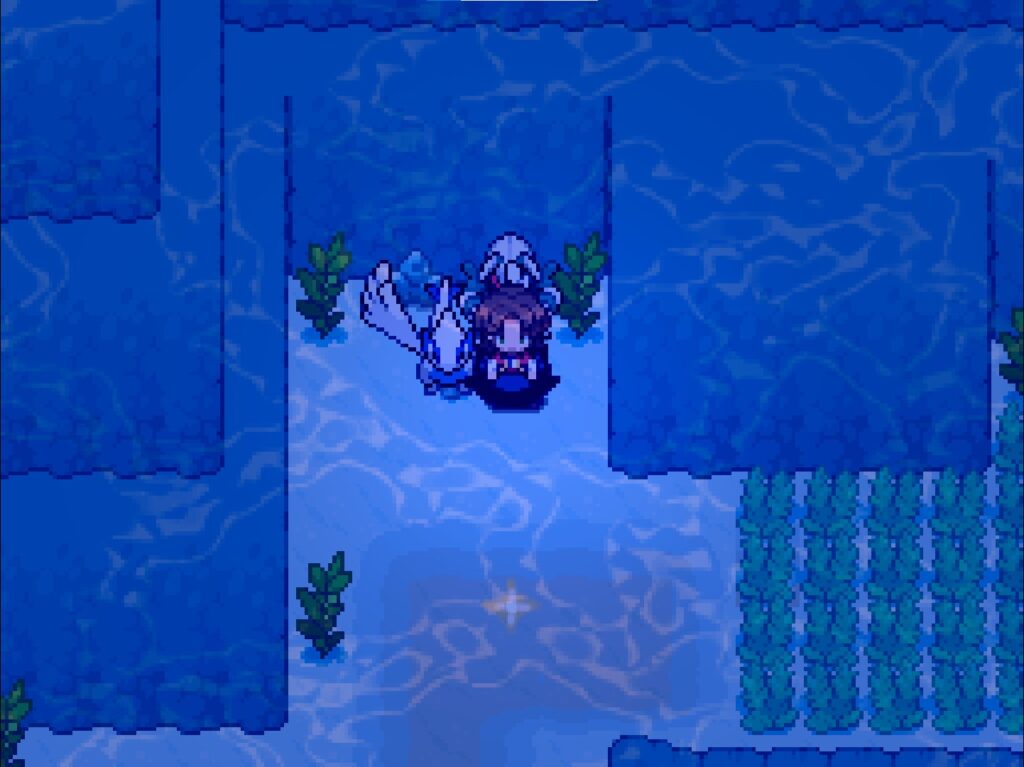
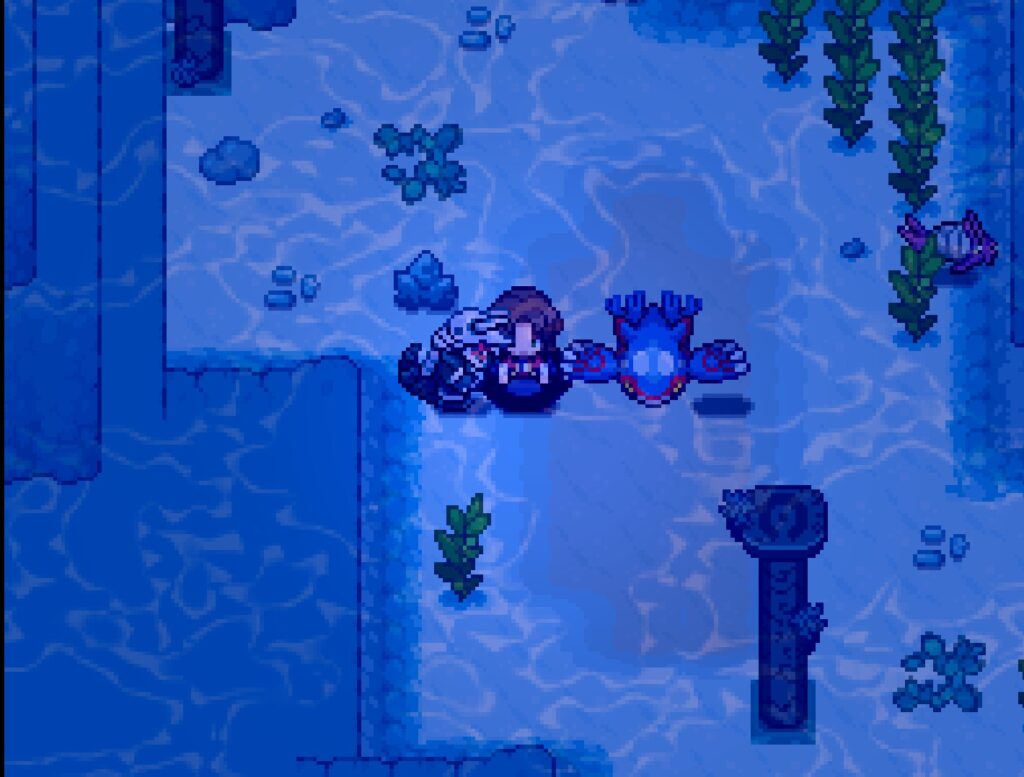
29. Lugia
Located in the Seafloor of Petroglifo Town.
30. Ho-Oh
On Route 15, follow the river upstream.
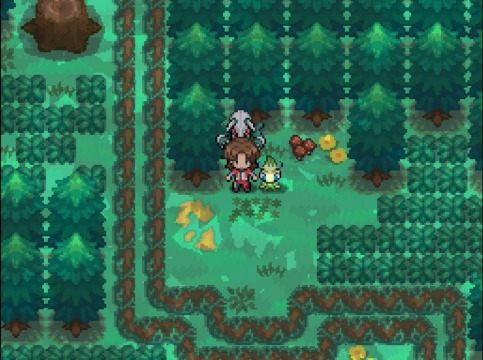
31. Celebi
In Hillside Forest. Follow the natural path, then take the small side path.
32. Latias & Latios
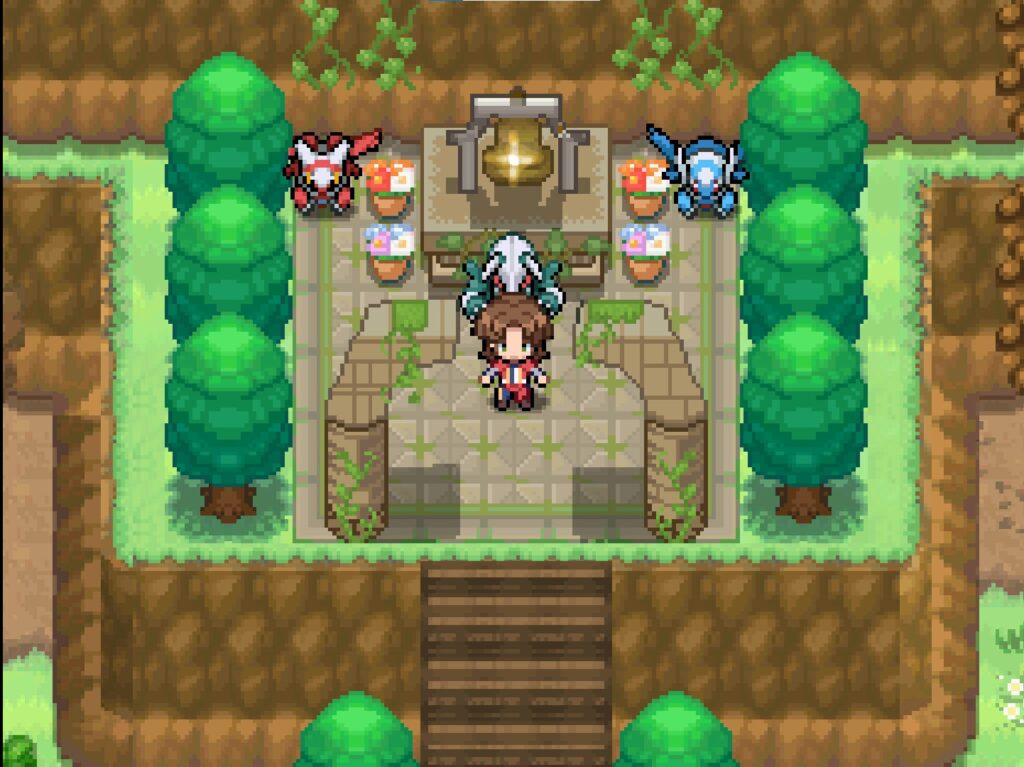
At Prosperity Sanctuary, near the bell.
33. Kyogre
At the bottom of Lake Fluxus, to the right of the Ancient Forge entrance.
34. Groudon
At the exit of the Prison of Oblivion.
35. Rayquaza
At the summit of the Abandoned Lighthouse.
36. Jirachi
In Acrílico Town.
37. Deoxys
In the Mysterious Place.
Open the station door — the key is found in the river when heading up through Luminalia Expansions.
38. Dialga
In Wandering Forest using the path: → → ↓ →
39. Palkia
In East Luminalia Expansions, bottom-left corner.
40. Heatran
In Burning Chasm. After entering, head left.
41. Giratina
On Route 22, just before entering Sanguino Town.
42. Shaymin
In Wandering Forest. Activate the 15 humanoid statues.
Once activated, Shaymin appears in the next area using the path:
(From Collage: → ↓ → ↑ →)
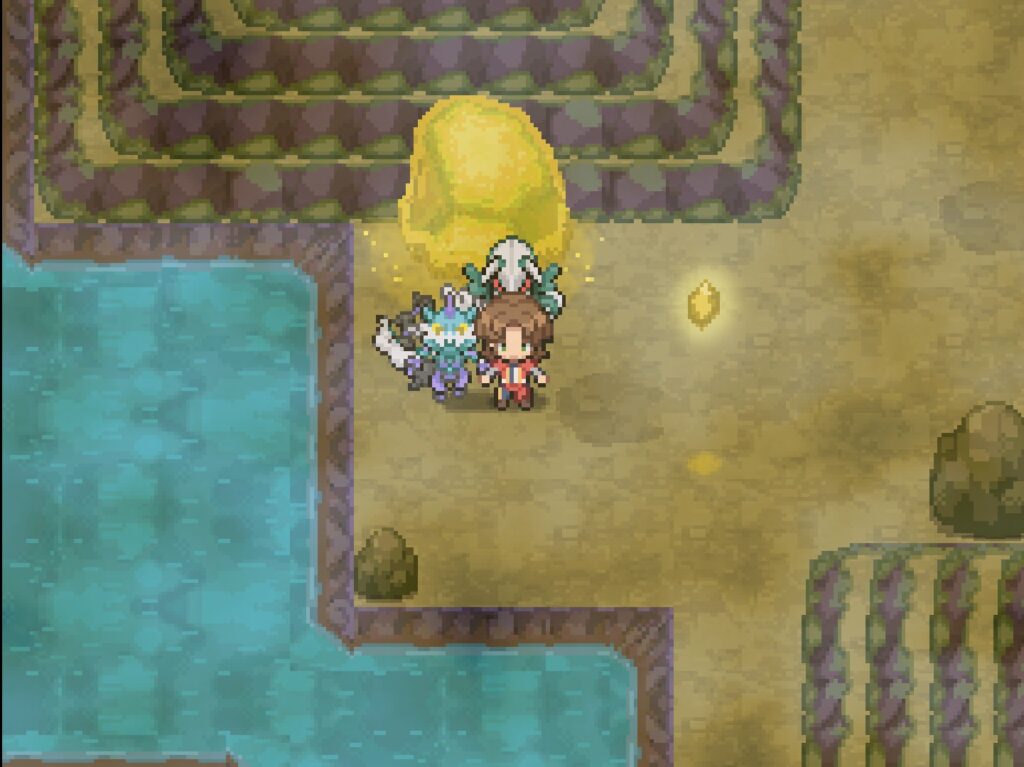
43. Arceus
Collect the 18 elemental plates from Alpha nests.
Go to the location where you met Crisanto — a portal will appear leading to Spear Pillar, where you battle Volus.
After the scenes, interact with the star to make Arceus appear.
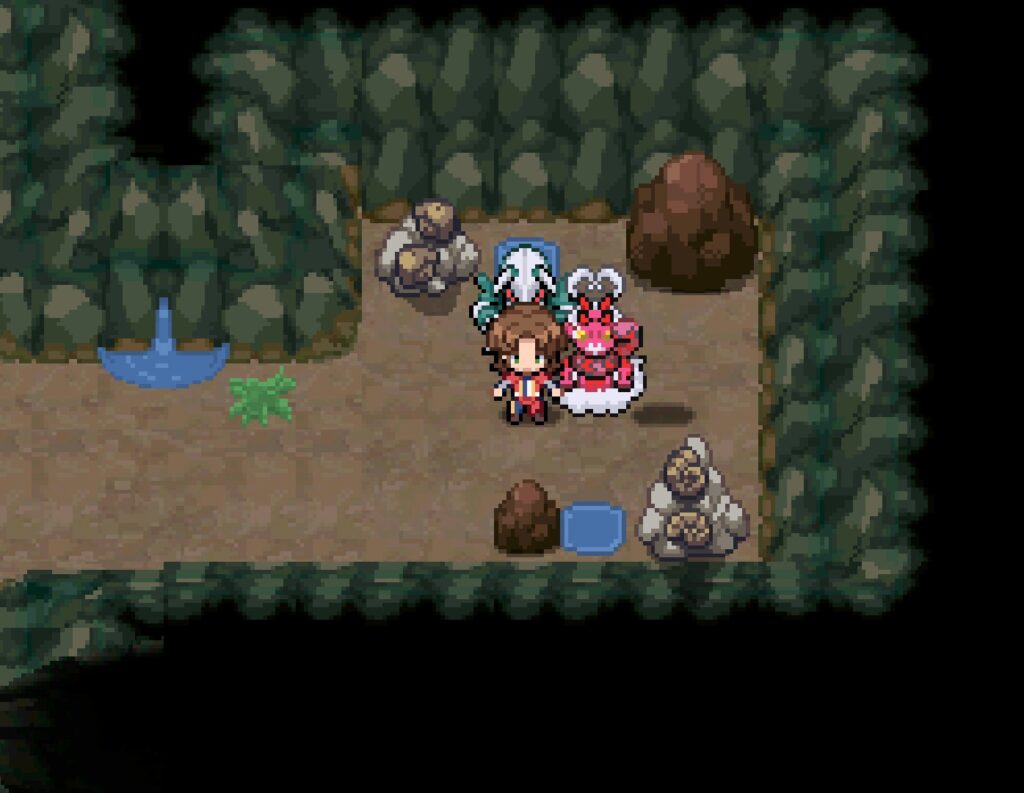
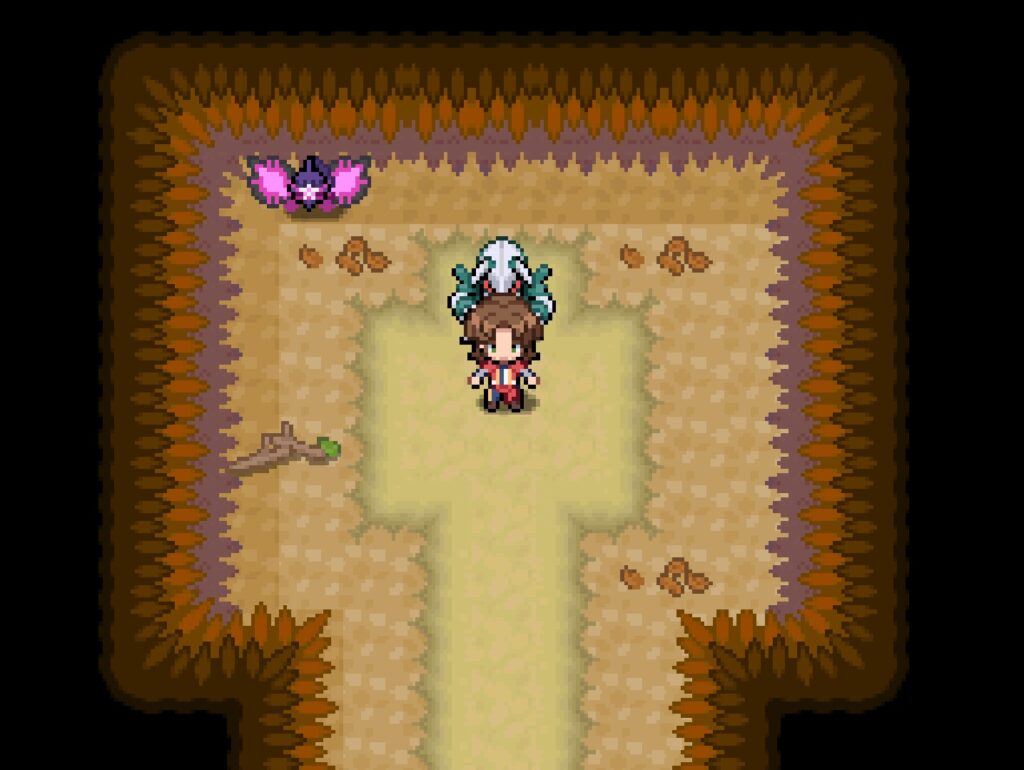
Additional Legendaries
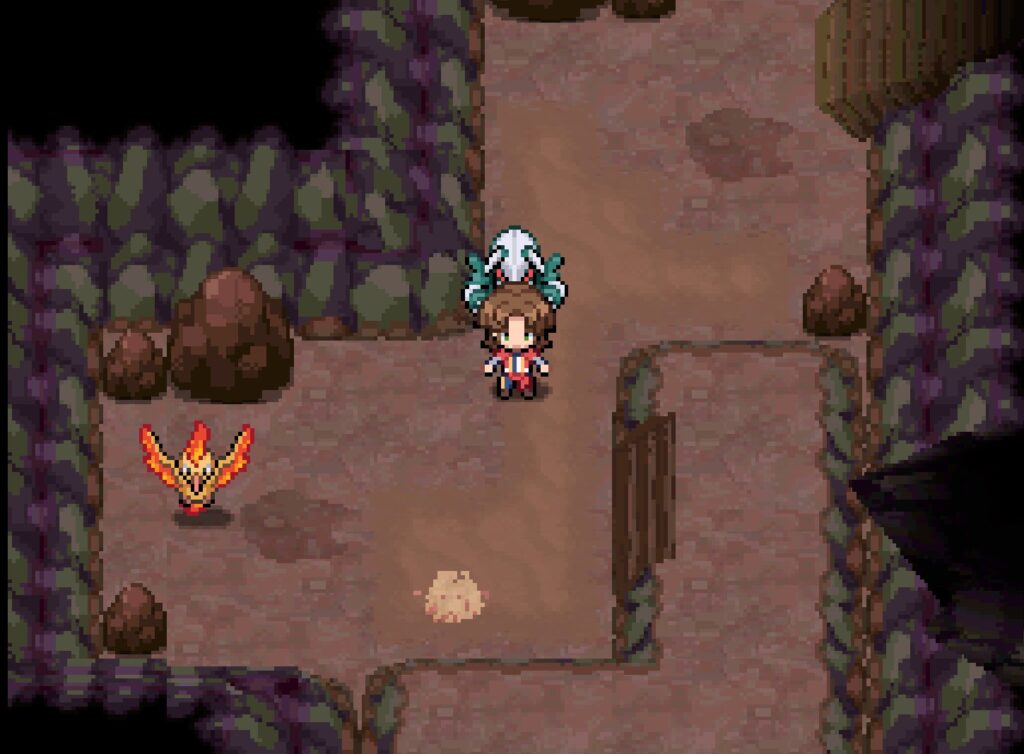
44. Victini
Fort Leviathan, in the cage area.
45. Tornadus
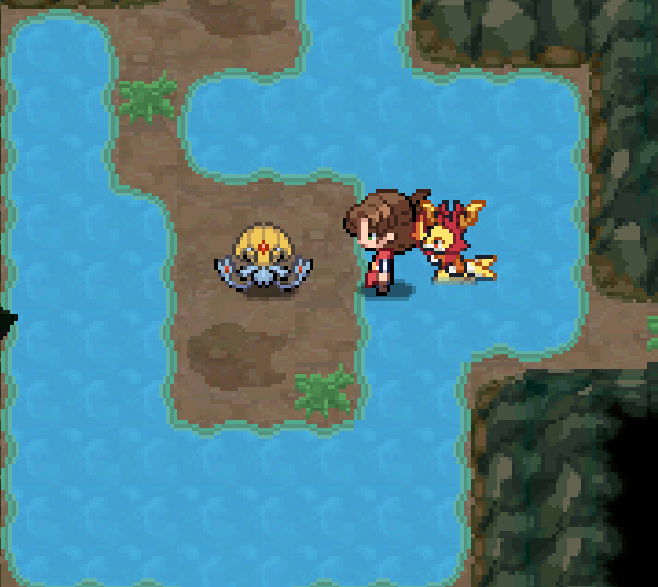
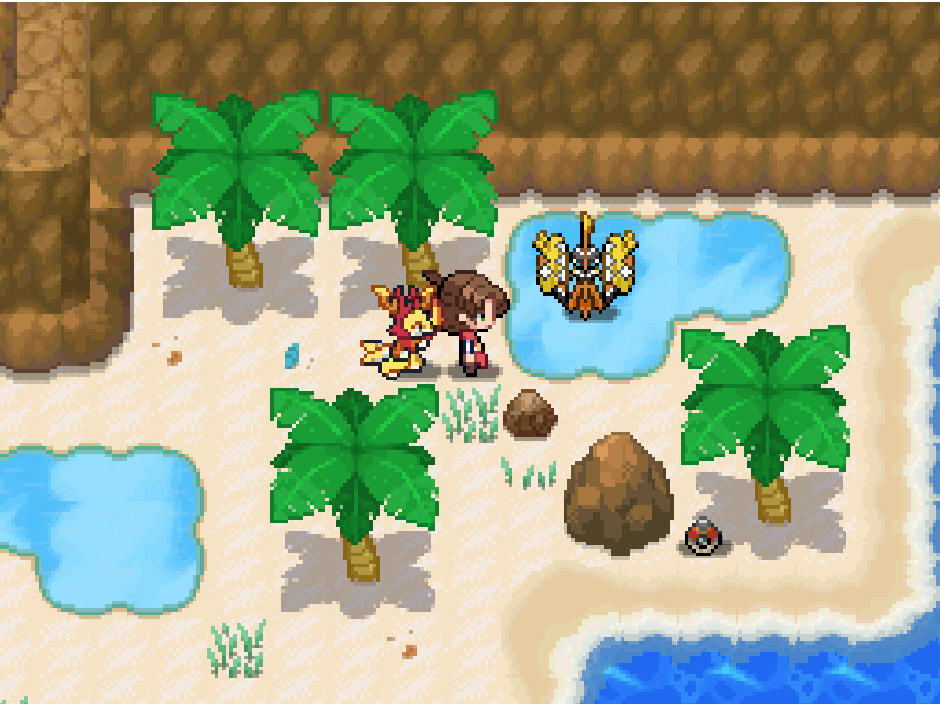
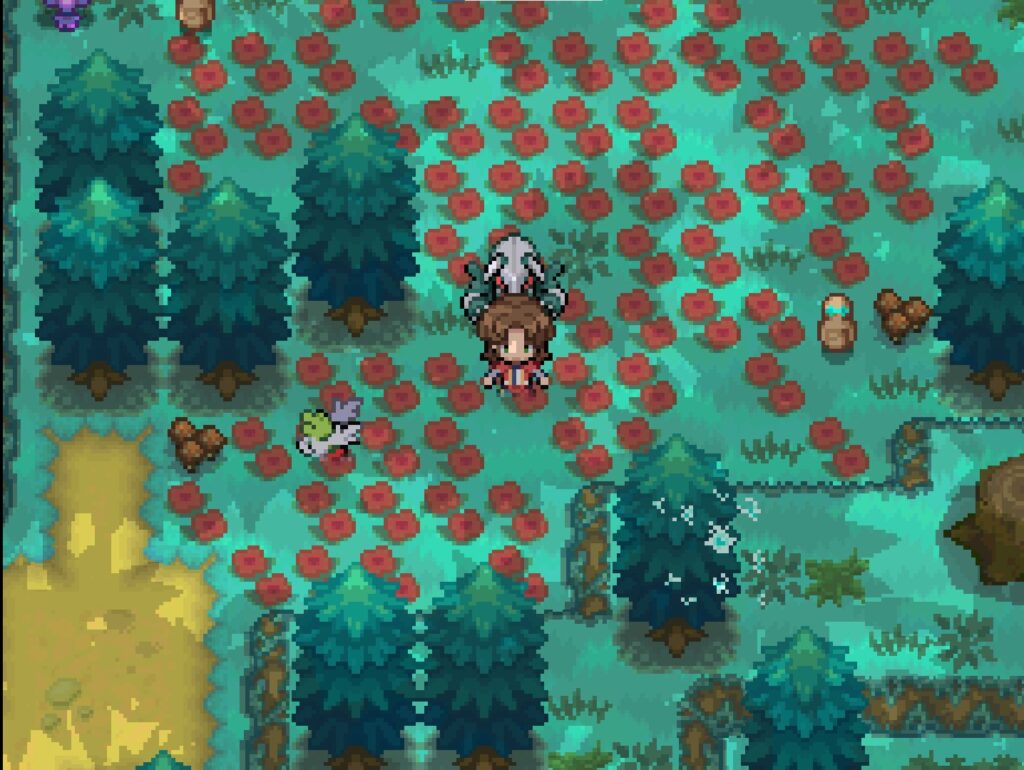
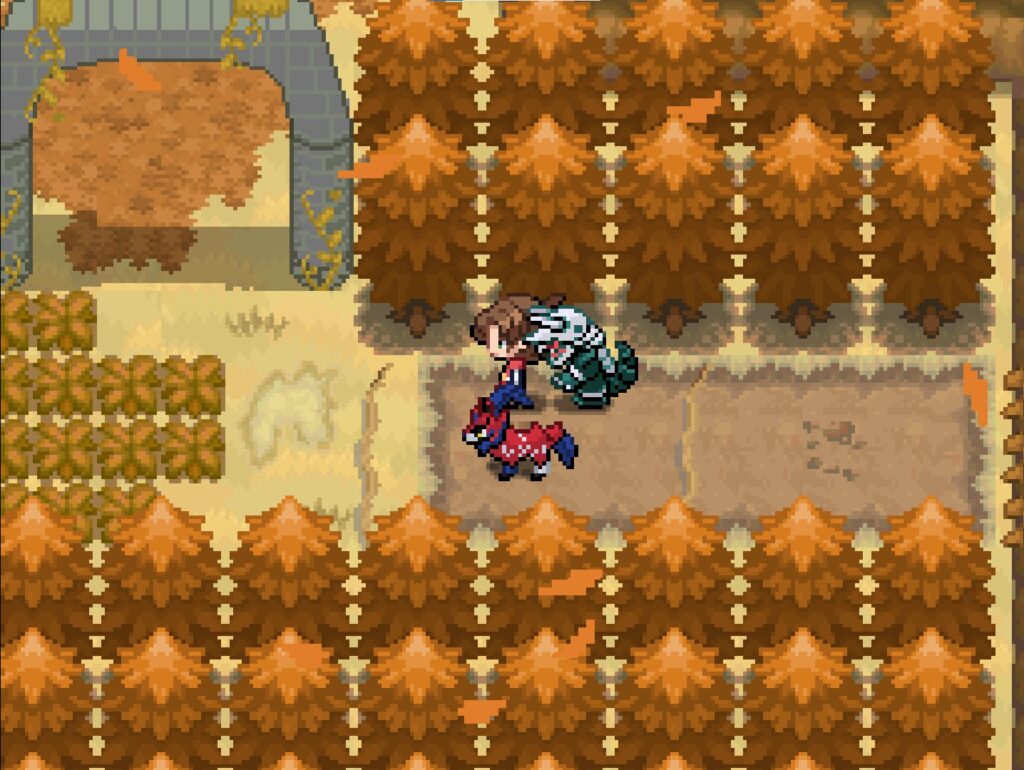
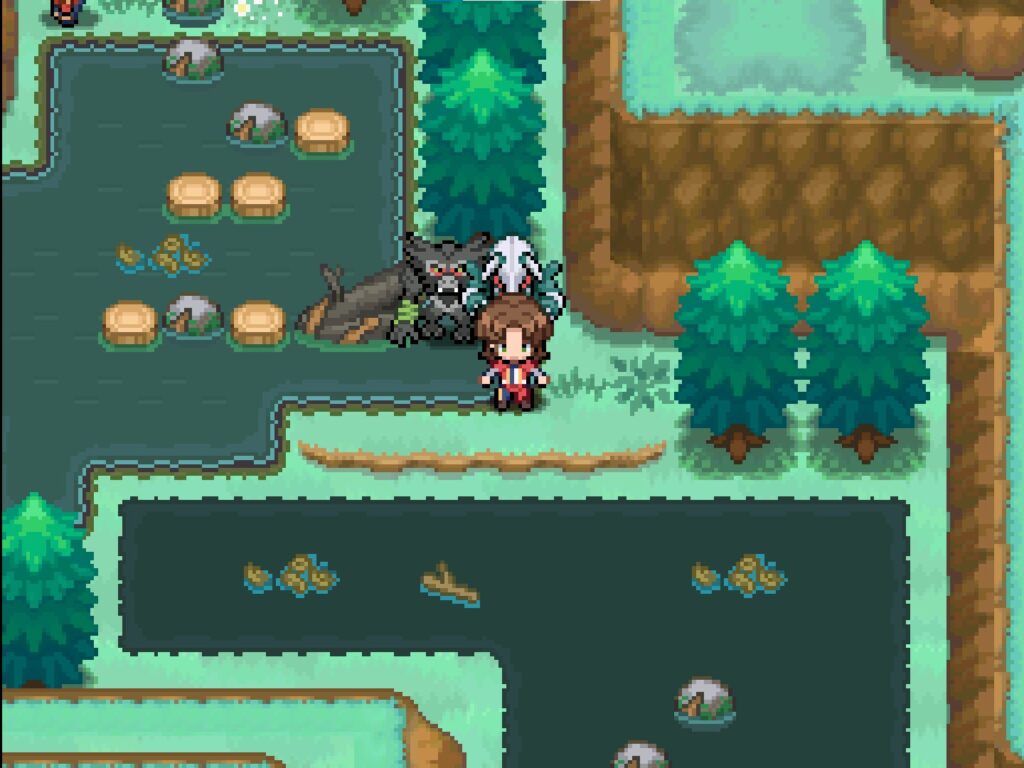
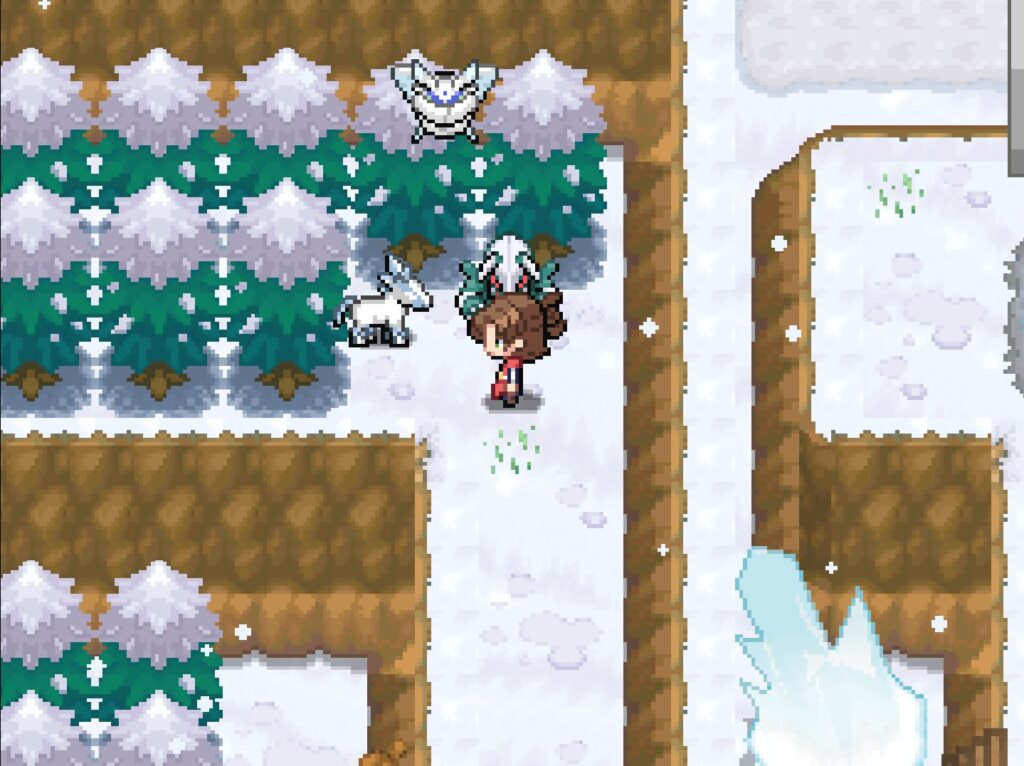
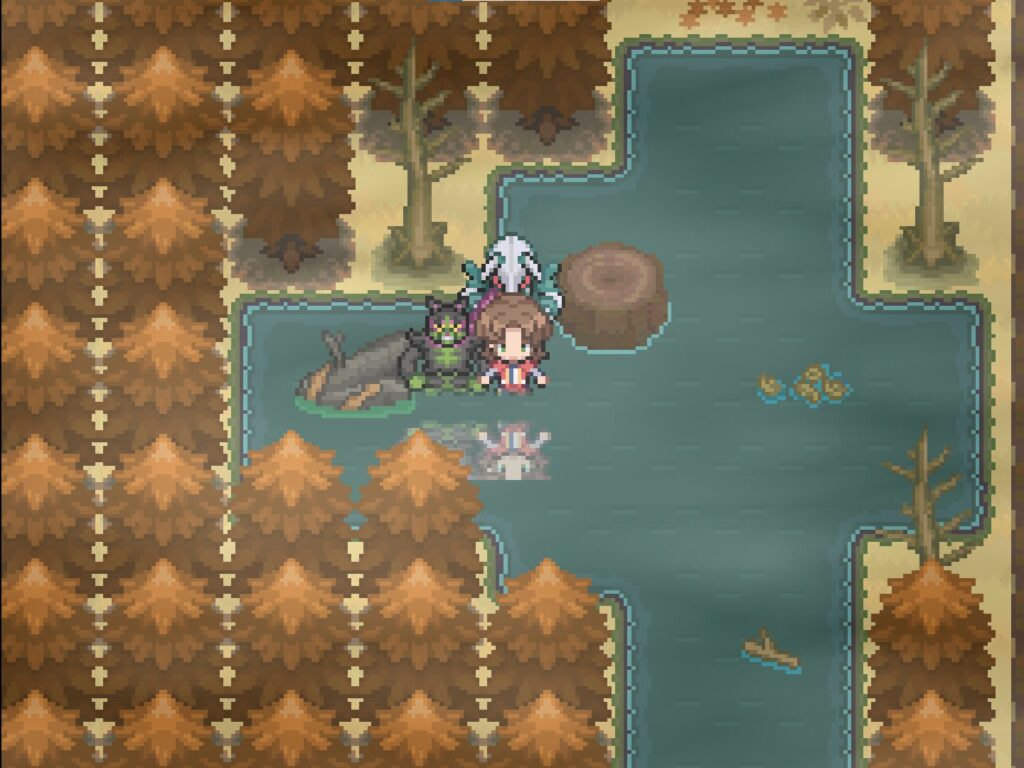
In Gloomy Cave. Surf straight south, turn right into the cave, pass between two small lakes, then surf to the opposite shore.
46. Thundurus
In Radiant Cave. From Novarte, go down left, then up.
47. Landorus
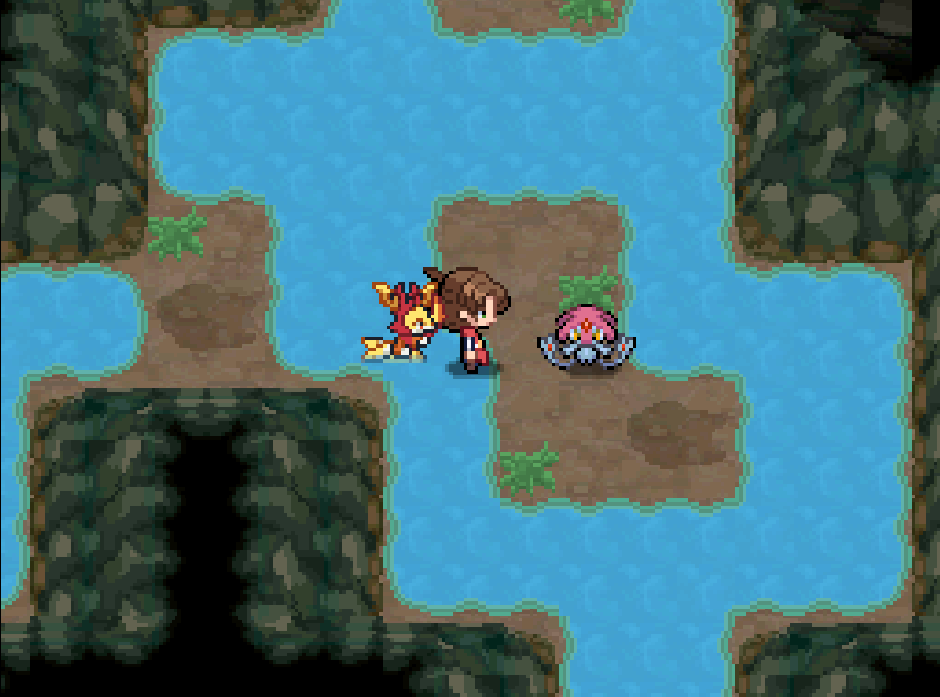
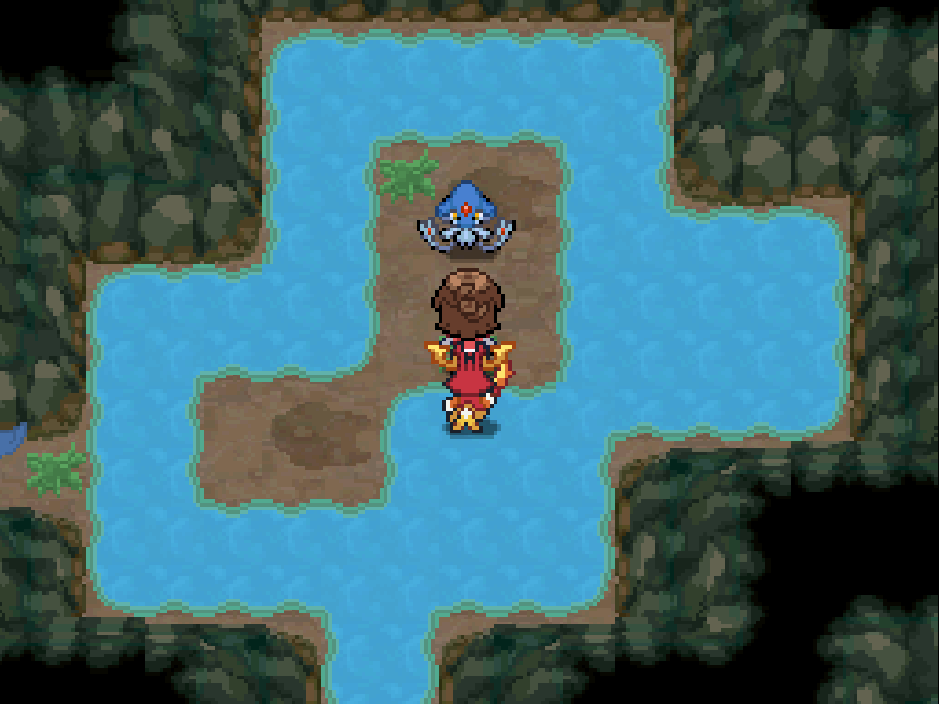
In Grisalla Cave, after crossing the lake beneath the area where Olivier helps with the rocks.
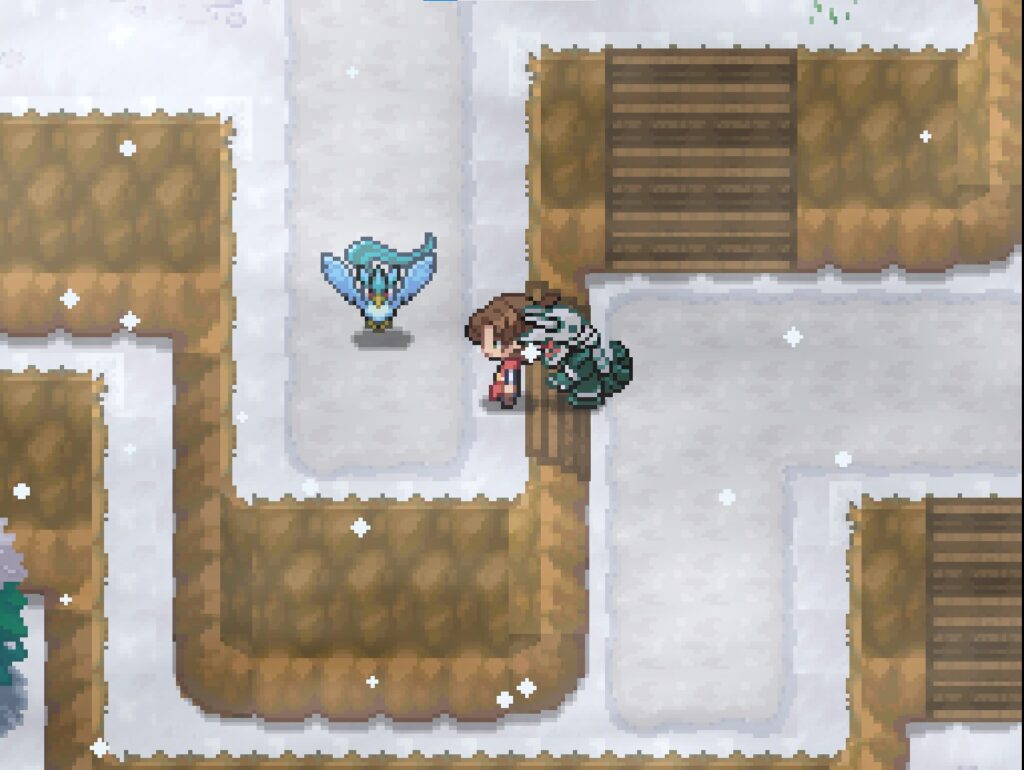
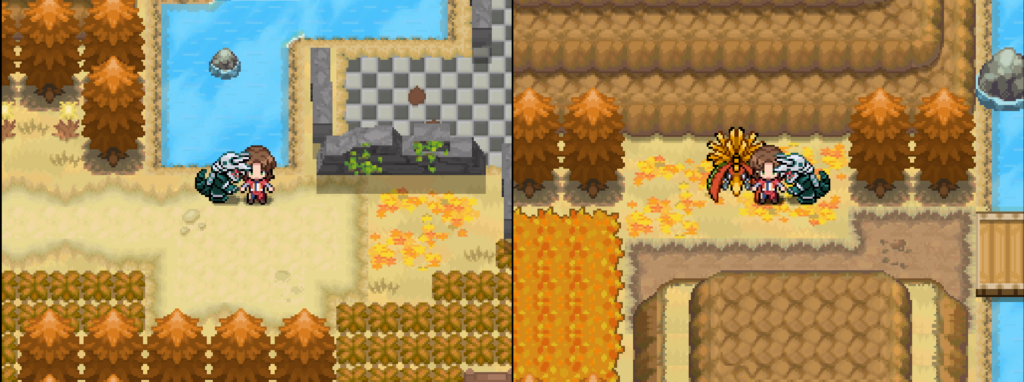
48. Reshiram
On the balcony of Chateau Rosillon.
49. Zekrom
In Chateau Lanto. Go down through the middle door of the three on the right and continue downward.
50. Kyurem
In the Kalos Pyrenees on the path toward Batik.
51. Meloetta
West Luminalia City.
52. Genesect
First floor of the Burned Workshop.
53. Diancie
Reflection Cave from Route 25. Find the hidden door and pass through.

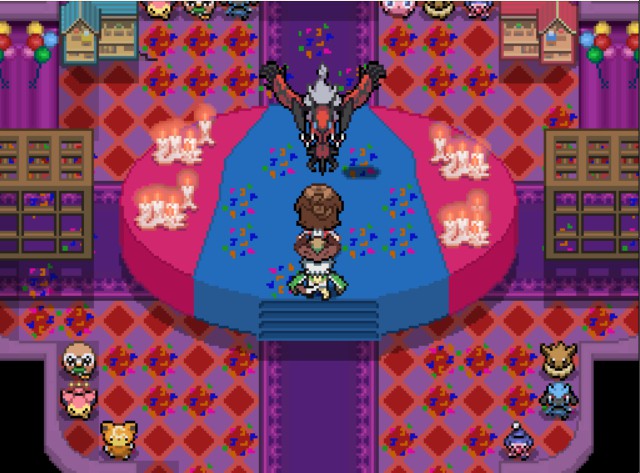
54. Hoopa
Exchange for 1400 chips at Sanguino Town Casino.

55. Volcanion
At the Pokémon Center in West Luminalia Expansions.
Open a Mercuric Door and interact with Volcanion, then talk to Clem outside.
Give him 3 Scorching Embers and 3 Vital Waters to obtain the battery — then give it to Volcanion.
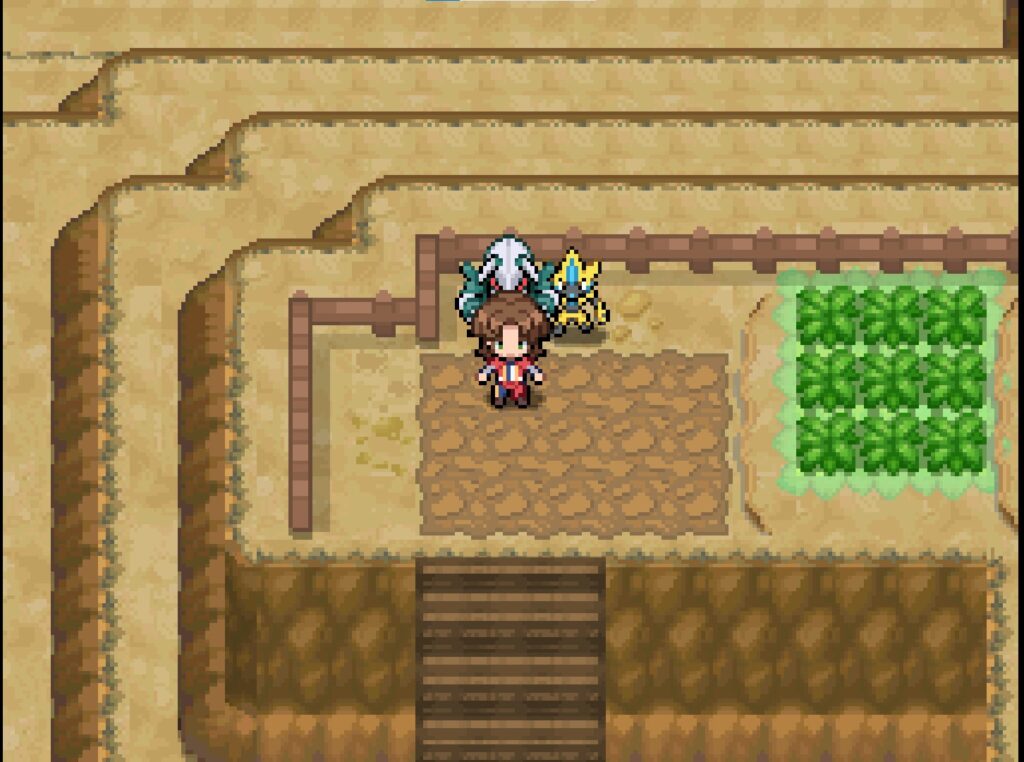
56. Type: Null / Silvally
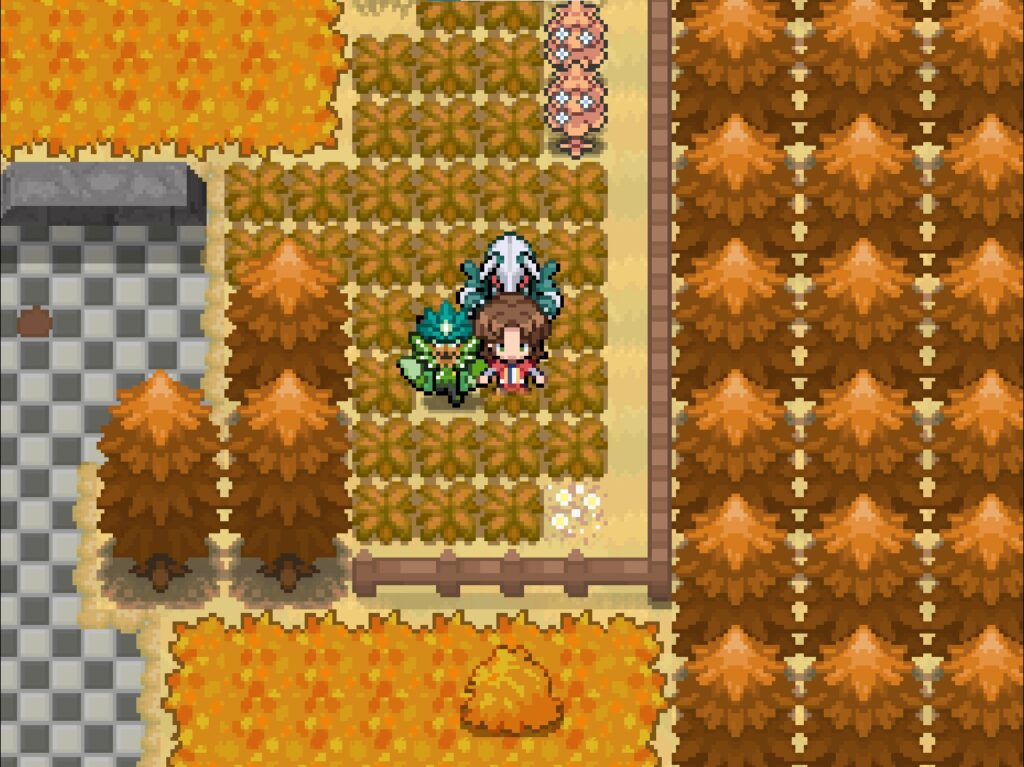
Given by a citizen at Yantra Farm.
57. Cosmog / Cosmoem / Solgaleo / Lunala
Cosmog locations:
- Certijo Island after the Riddle King
- Old Vanitas (enter from Route 12, pass under the arch, go left)
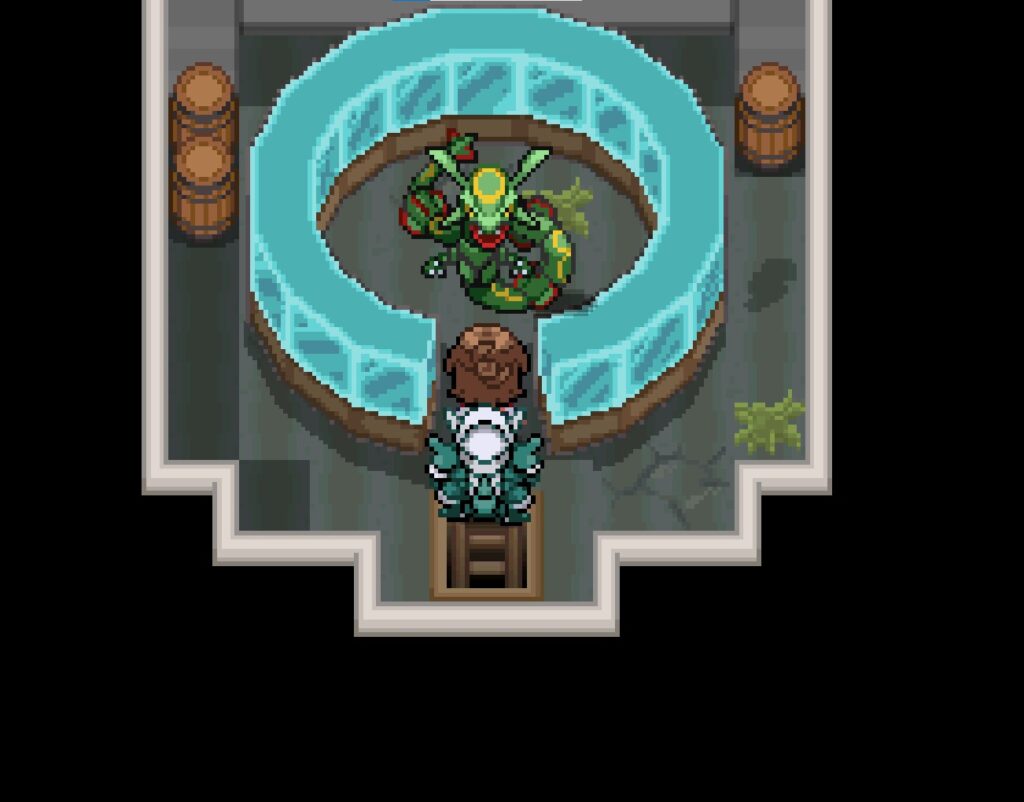
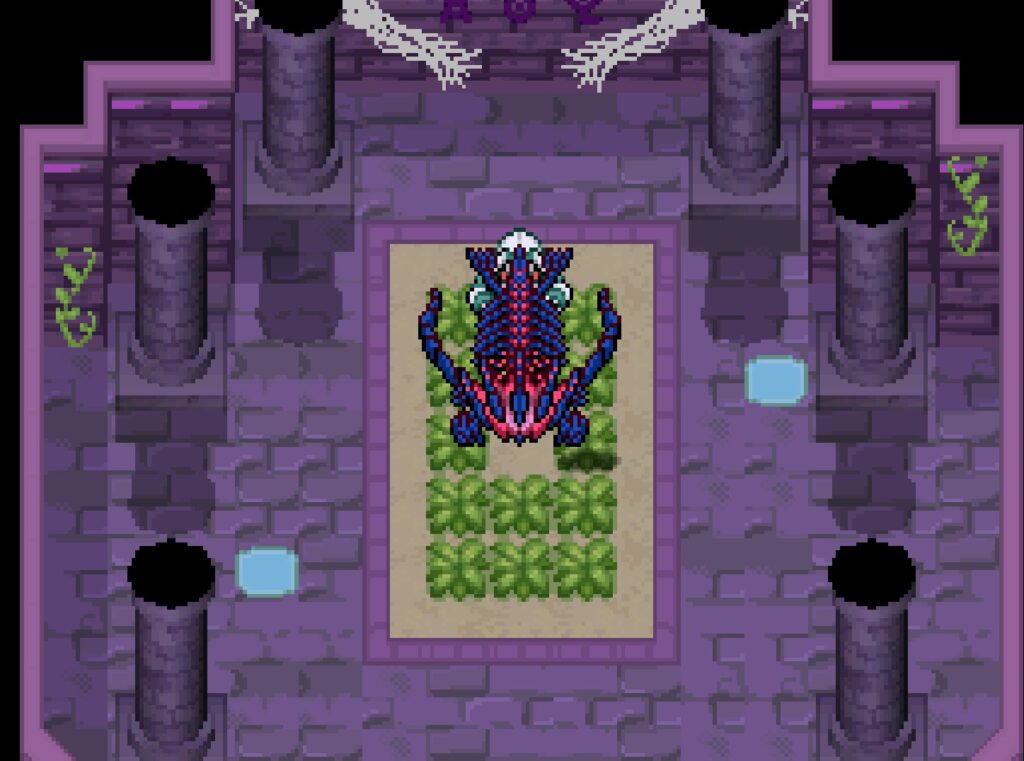
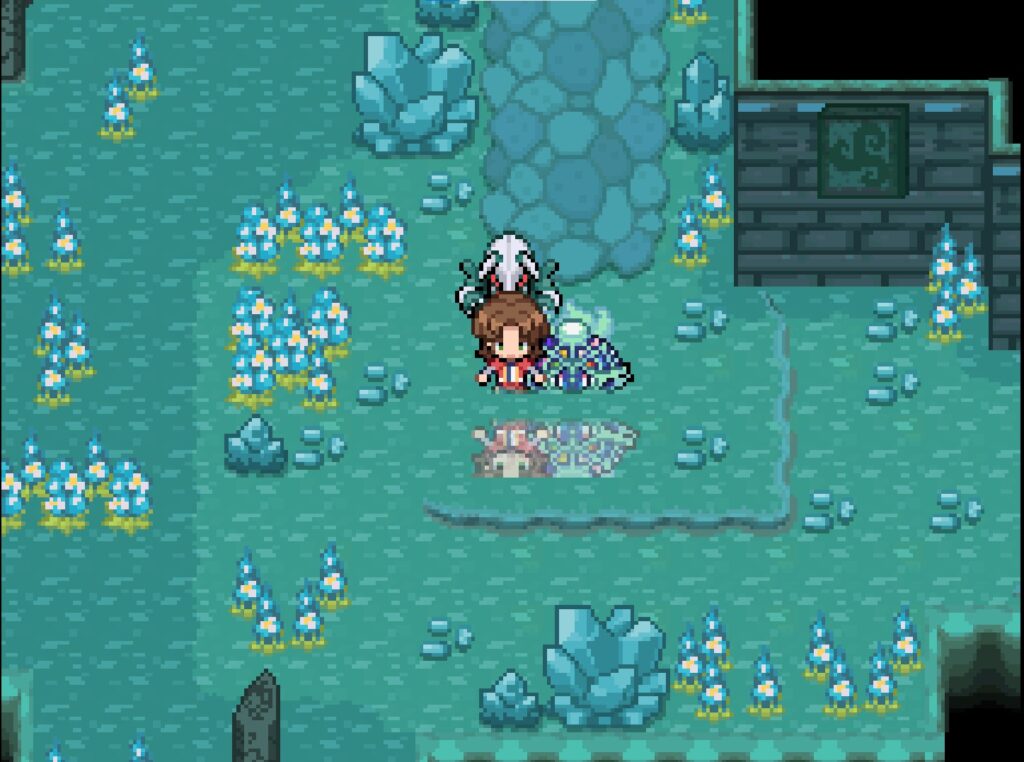
58. Necrozma
Center of the Luminalia Crypts.
59. Marshadow
Sanguina Coast (left of Sanguino Town).
60. Zeraora
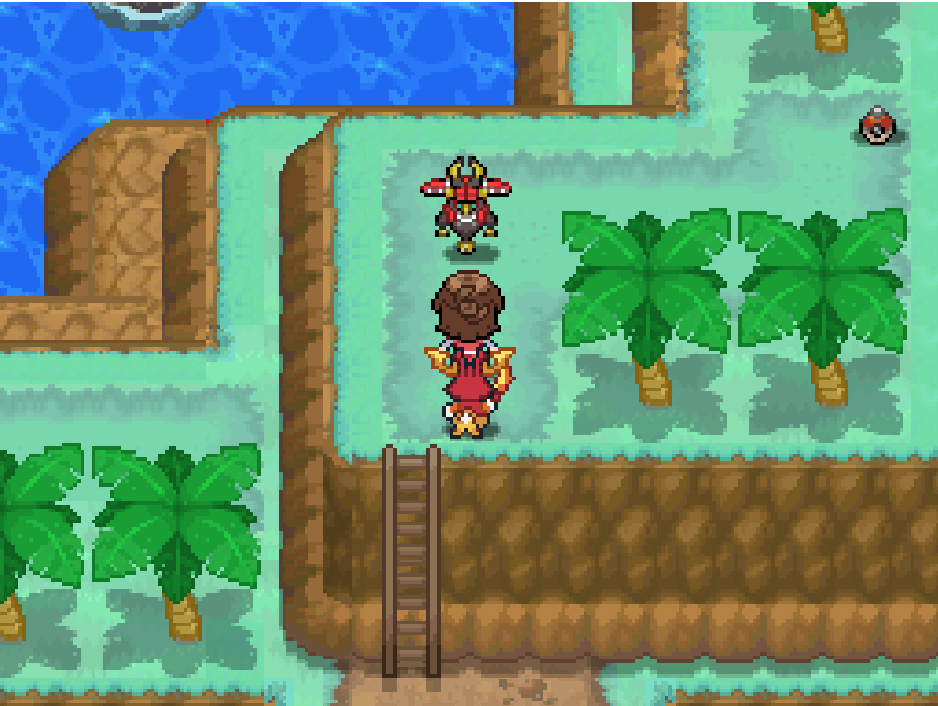
At the Service Station, up the stairs on the right.
61. Zacian
King’s Sanctuary. From the statue area, go left, down, and cross the lake.
62. Zamazenta
Route 5. After the Daycare, continue forward without climbing the stairs.
Climb the rocks near the Mystic Swordsmen area and go left.
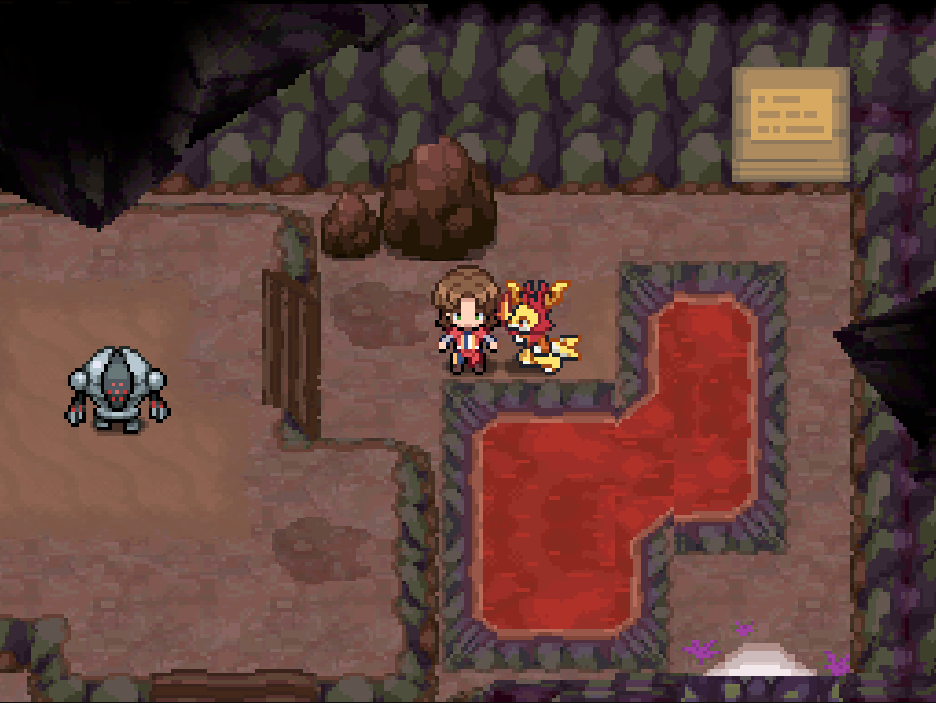
63. Eternatus
Western Catacombs.
Open the Mercuric Door to a room with tall grass and the phrase “SEIZE THE ETERNAL.”
Catch the Unown spelling ETERNO, place them in your party, then interact with the painting again.
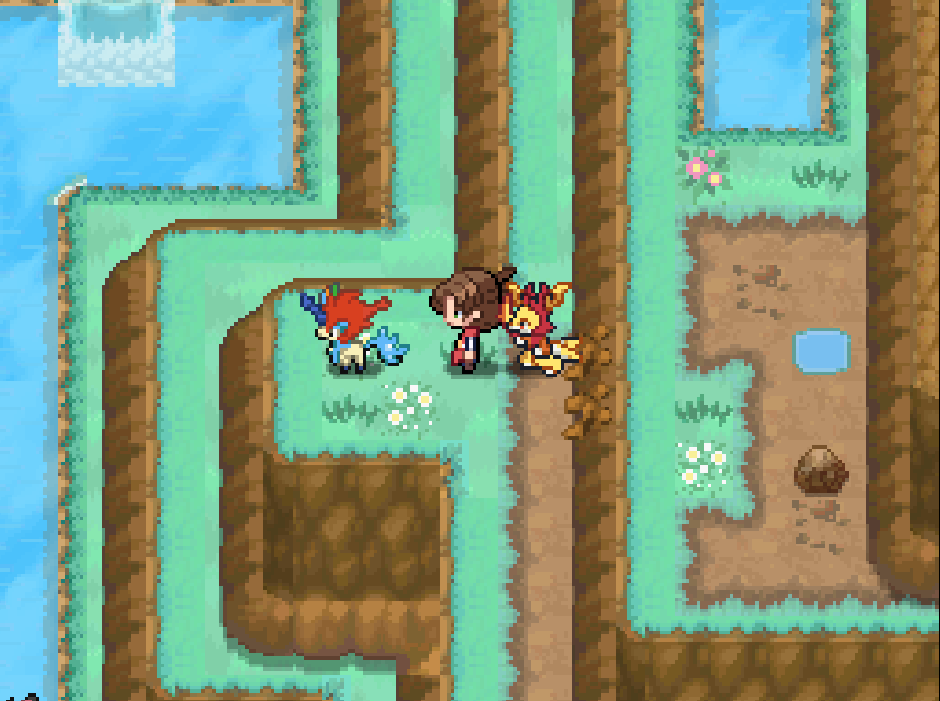
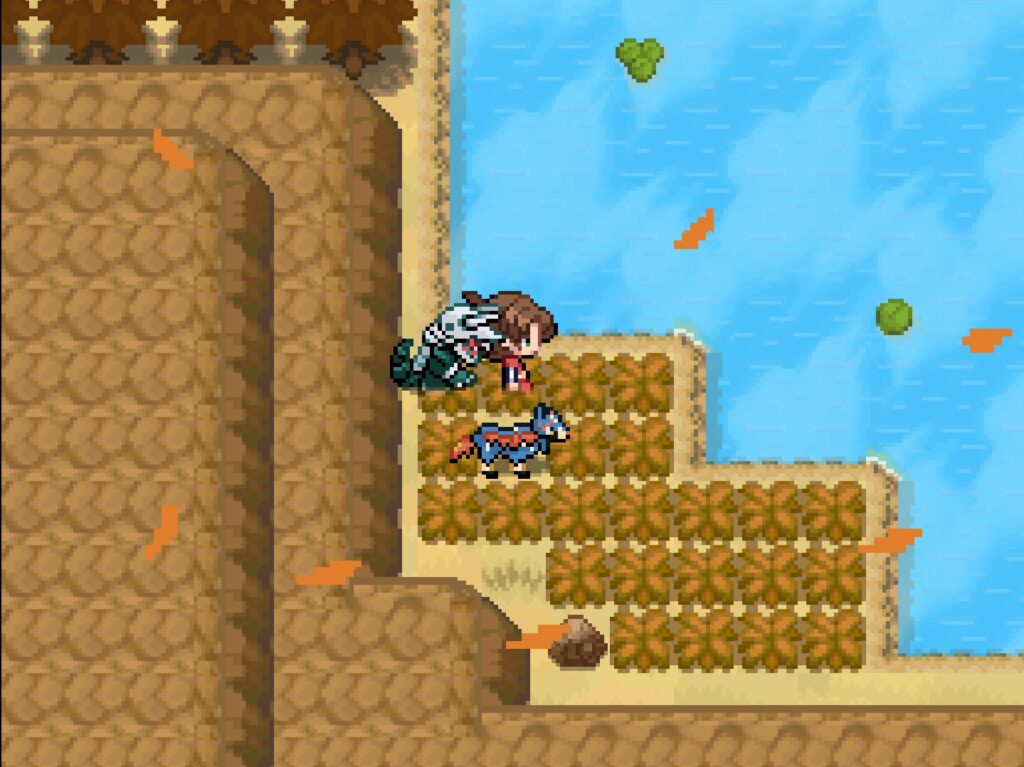
64. Zarude
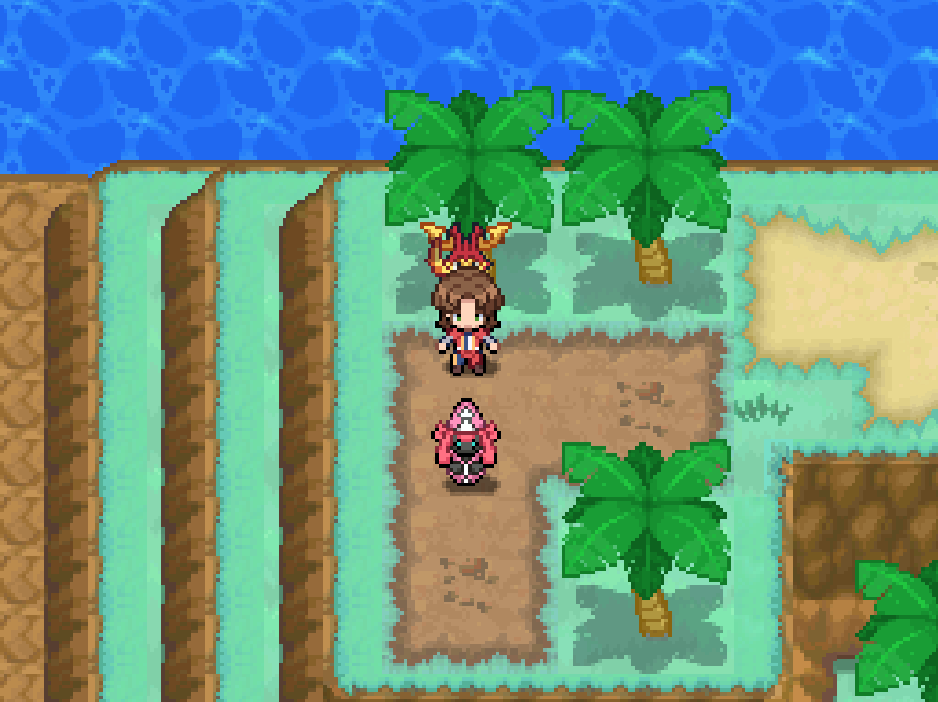
Route 20, in the mud area after surfing.
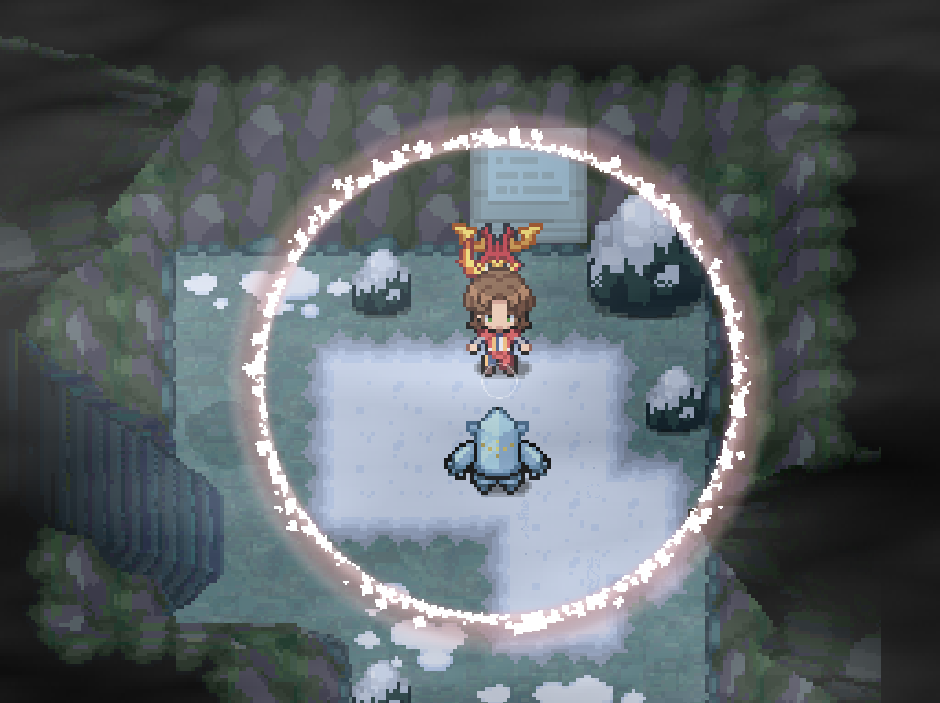
65. Regieleki
Grand Exhibition in Mosaico Town.
66. Regidrago
Route 17, immediately to the right upon entering.

67. Glastrier
Fractal City. Before crossing the bridge to Route 21, go up the stairs and down the climbable rocks.
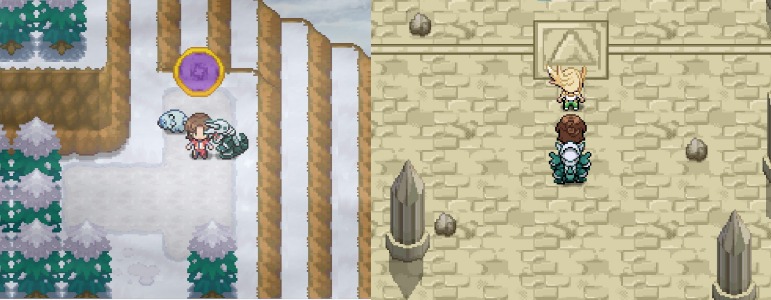
65. Spectrier
Dark Tower (Batik City).
Use the teleporter to the right of Lanto and enter the upper-right room.
69. Calyrex
Vanitas Orchard.
70. Wo-Chien
Northern Catacombs.
71. Chien-Pao
Southern Catacombs.
72. Ting-Lu
Eastern Catacombs.
73. Chi-Yu
Western Catacombs.
74. Koraidon
Deep within the Druidic Chamber of Prosperity Sanctuary, on the right.

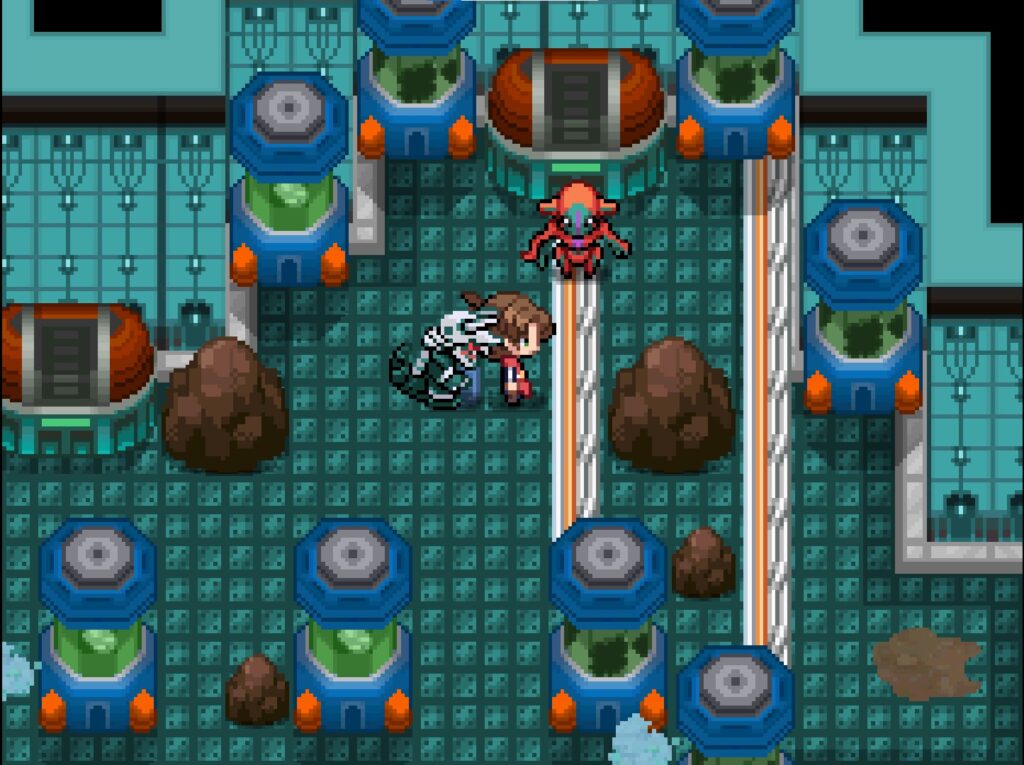
75. Miraidon
Inside the Poké Ball Factory after completing the puzzle.
76. Enamorus
Petro Cave.
77. Okidogi
Profane Swamp, from Profane Town entrance, upper right.
78. Munkidori
Profane Swamp. From the Burrow, go right through tall grass.

79. Fezandipiti
Above the Profane Swamp Flight Zone.
80. Ogerpon
Route 16, heading up through Oleo.
81. Terapagos
Ancient Flooded Forge.
82. Pecharunt
Deep Burrow (Profane Swamp, where a Clodsire poisons you).
Legendaries obtainable after finishing the main story (Post-Game Legendaries)
83. Xerneas
Deep Spring.
84. Yveltal
Circus Nightmare area (where the regent is).
85. Zygarde
At the top of Prism Tower.
Other Helpful Guides:
- All Legendary Pokemon Locations
- All ALPHA NESTS LOCATIONS
- List of All Mega Stones
- All Recipe Locations & Craftable Items Guide
- Full Docuentation (Category Page)
Final Note
Catching every Legendary Pokémon is one of the biggest milestones in Pokémon Z, offering some of the toughest battles and most rewarding moments in the game. With careful preparation, the right team, and a bit of patience, you’ll be able to secure each encounter and fully complete your adventure.
Be sure to save before every legendary battle, stock up on healing items, and revisit this guide whenever you want a quick reminder of a location you may have skipped. As new strategies and optimizations are discovered, keeping a structured reference like this will help you stay organized on your journey to 100% completion.